We have prepared detailed instructions for upgrading the xenon headlights on Skoda Octavia I at more powerful bi-xenon projectors with our Plug & Play kit. The whole process is designed to be as simple as possible and did not require any modifications headlights.
Step-by-Step Bi-xenon Headlight Retrofit
1. Preparation
Make sure you have a complete set.
Read the instructions carefully for a smooth process.
- Prepare the basic tools — you will need a T20 Torx screwdriver, a Phillips screwdriver, a small socket set with a 7mm socket, and pliers.
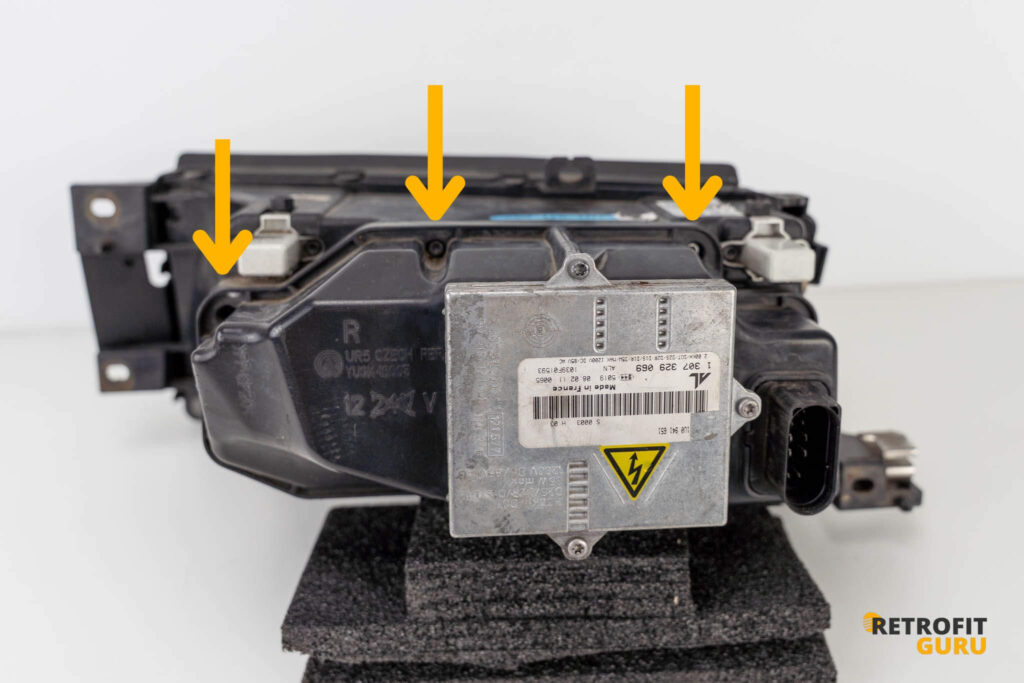
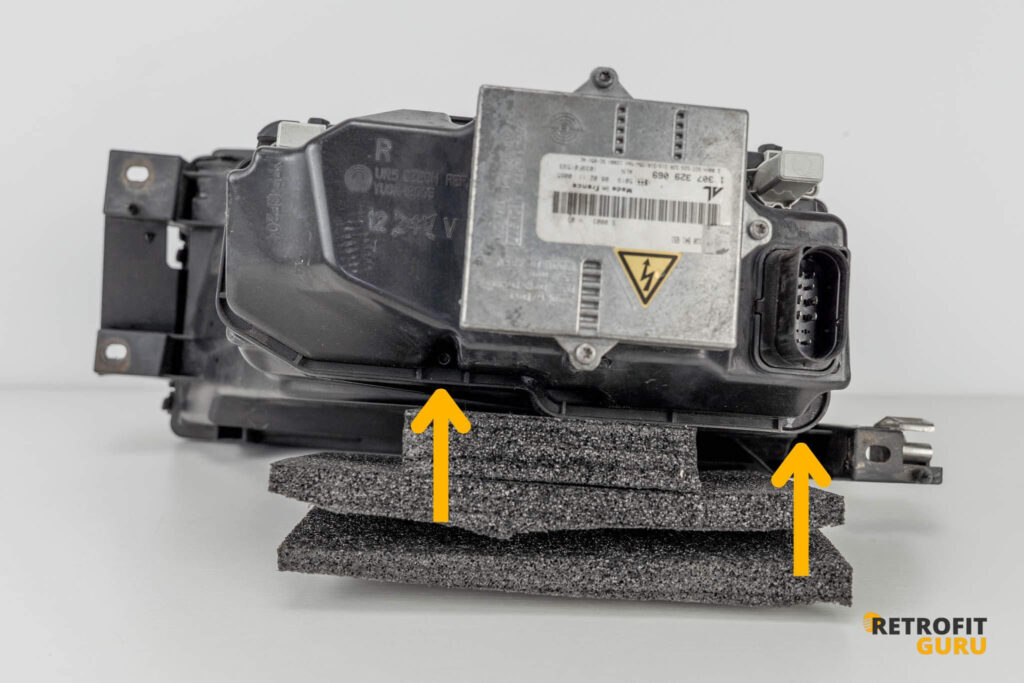
2. Removing the rear headlight cover
- Unscrew the five screws on the rear of the headlight using a Torx T20.


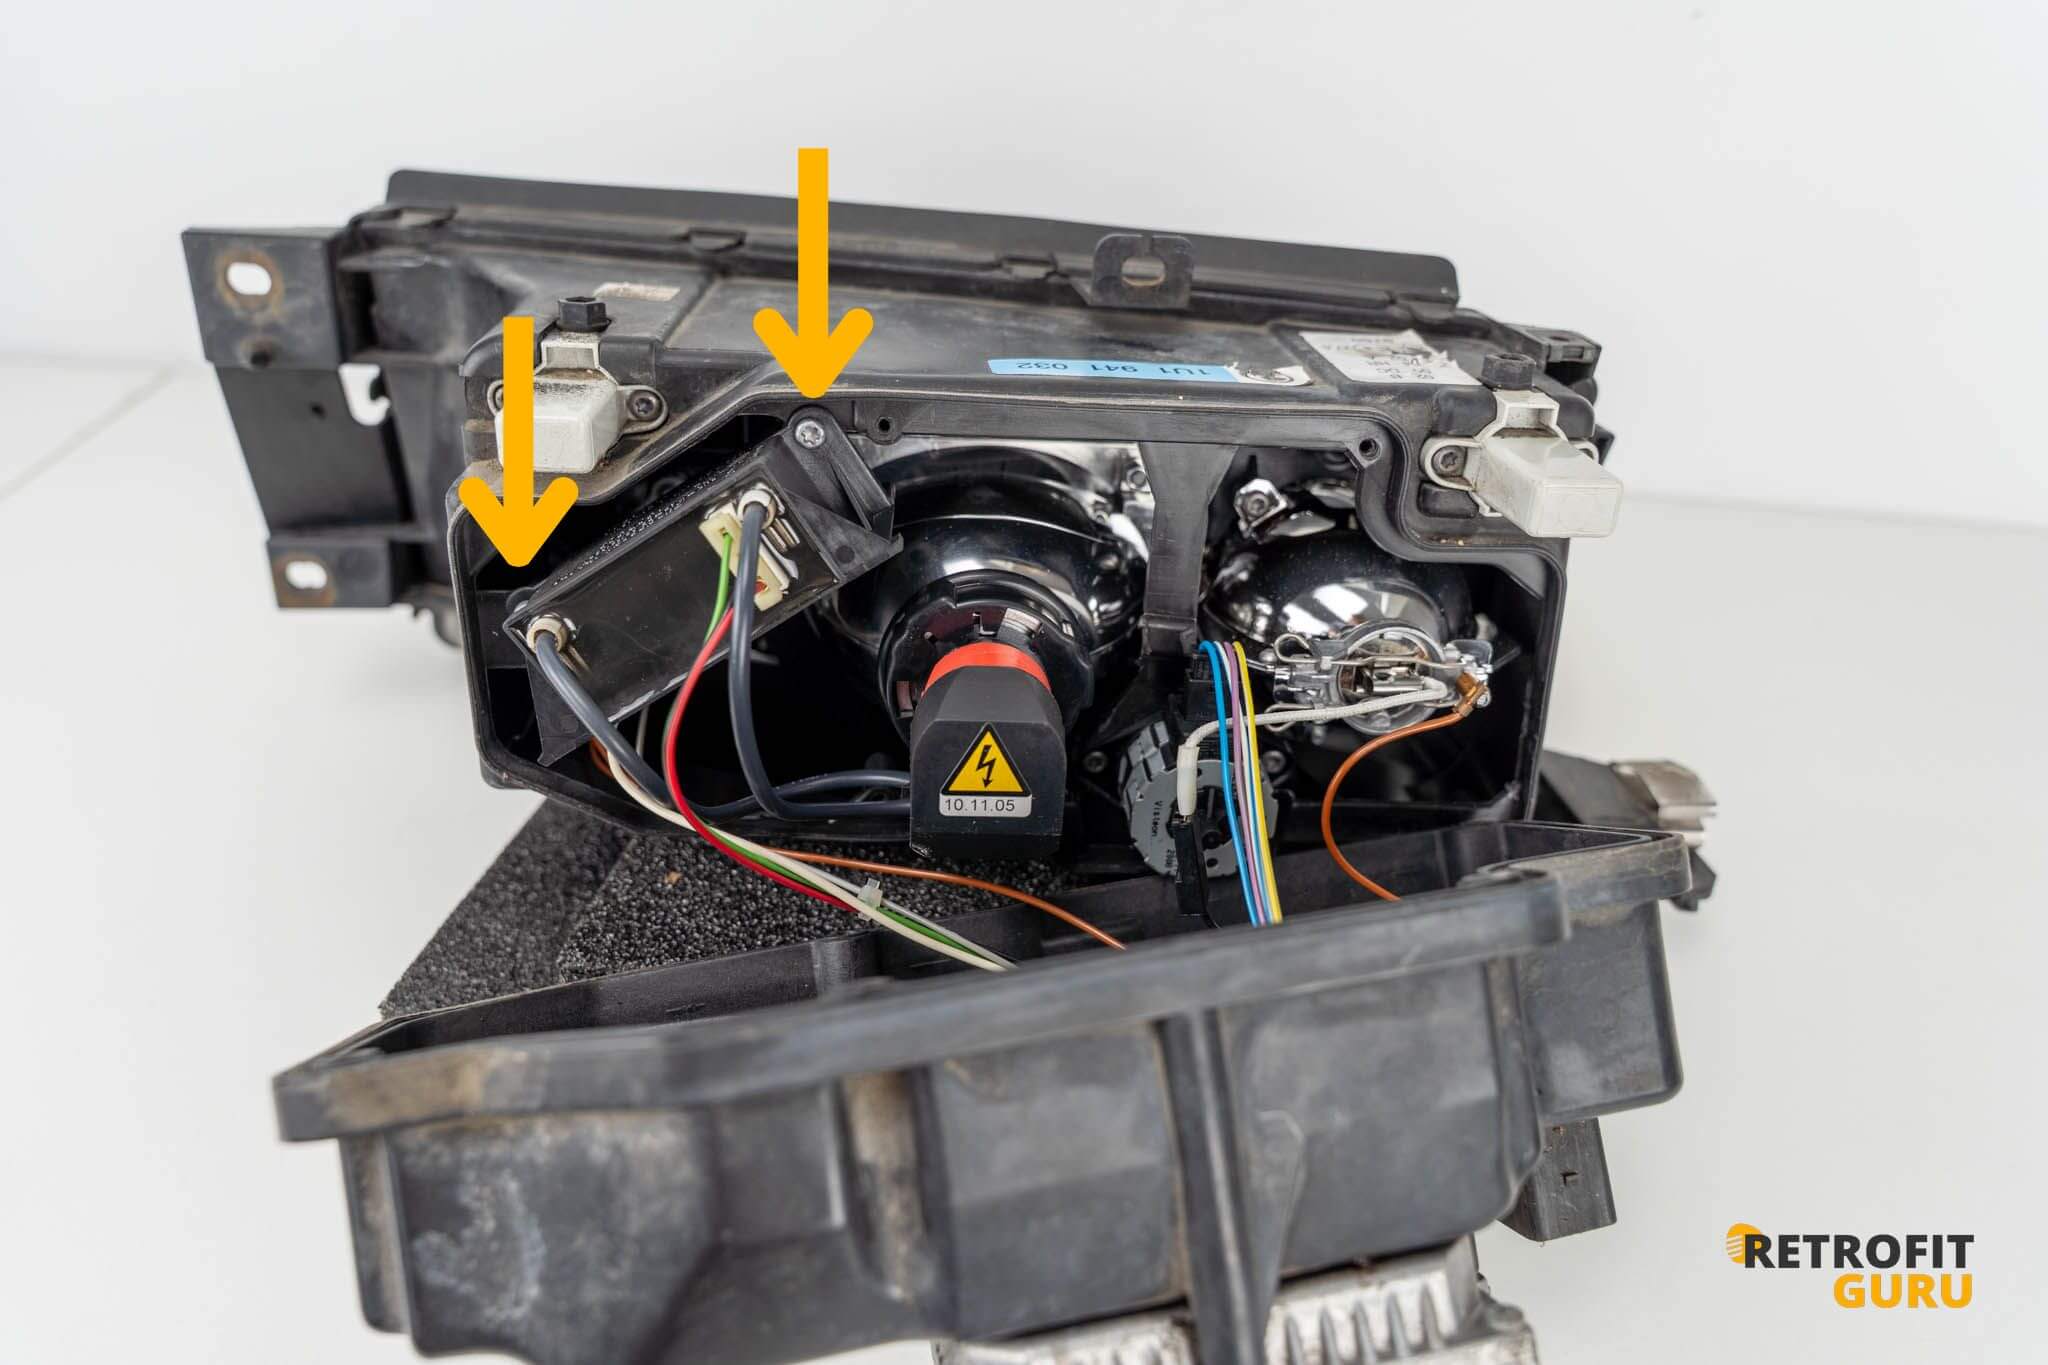
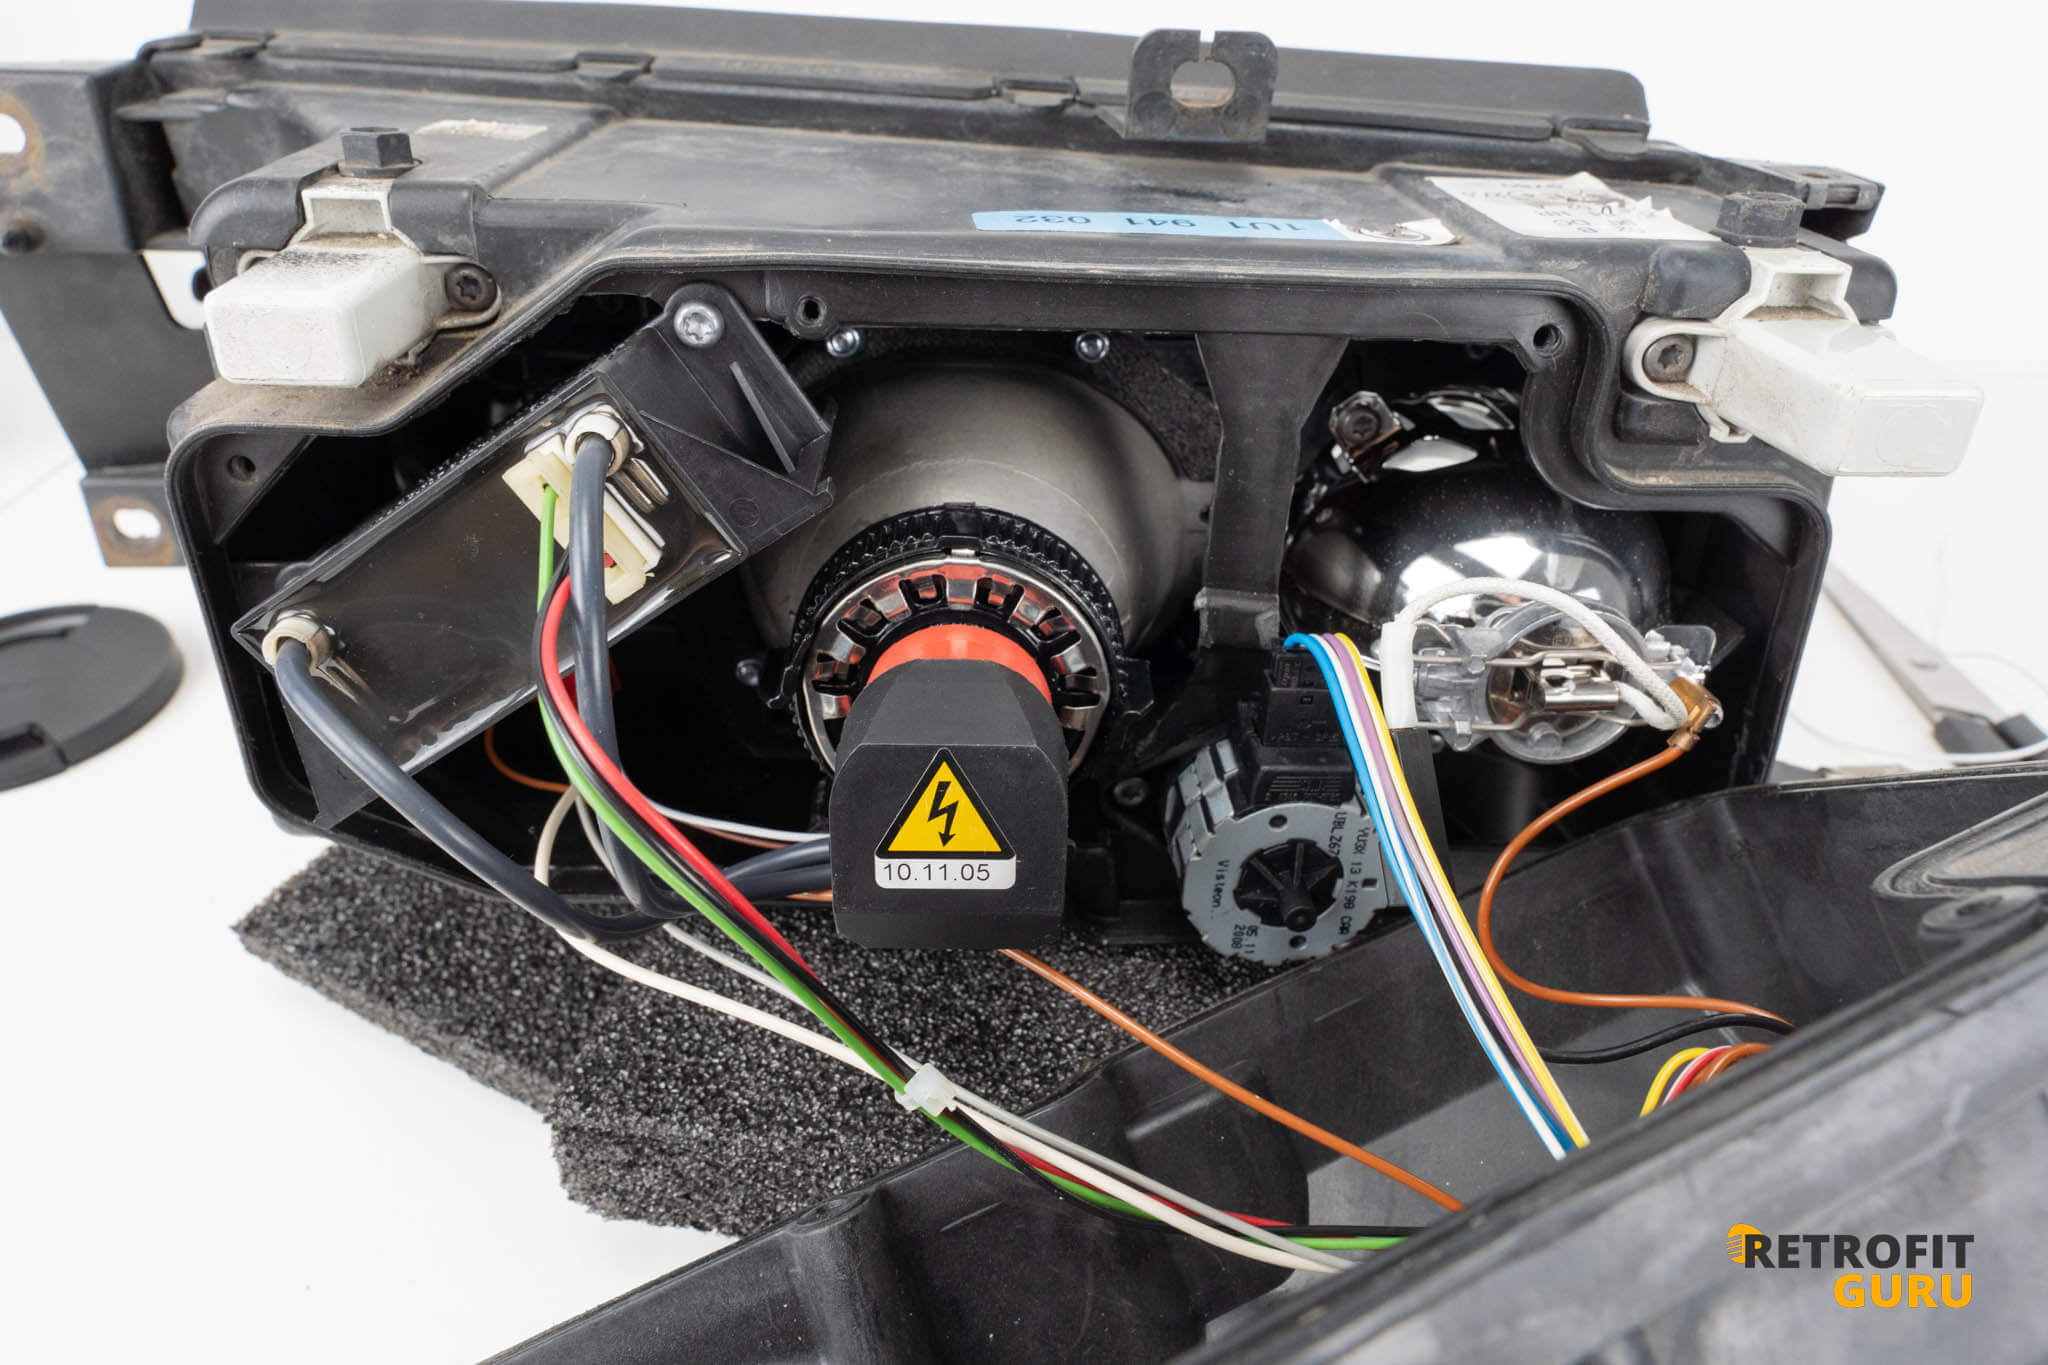
3. Removing the xenon starter
- Unscrew the two screws holding the xenon starter using Torx T20.
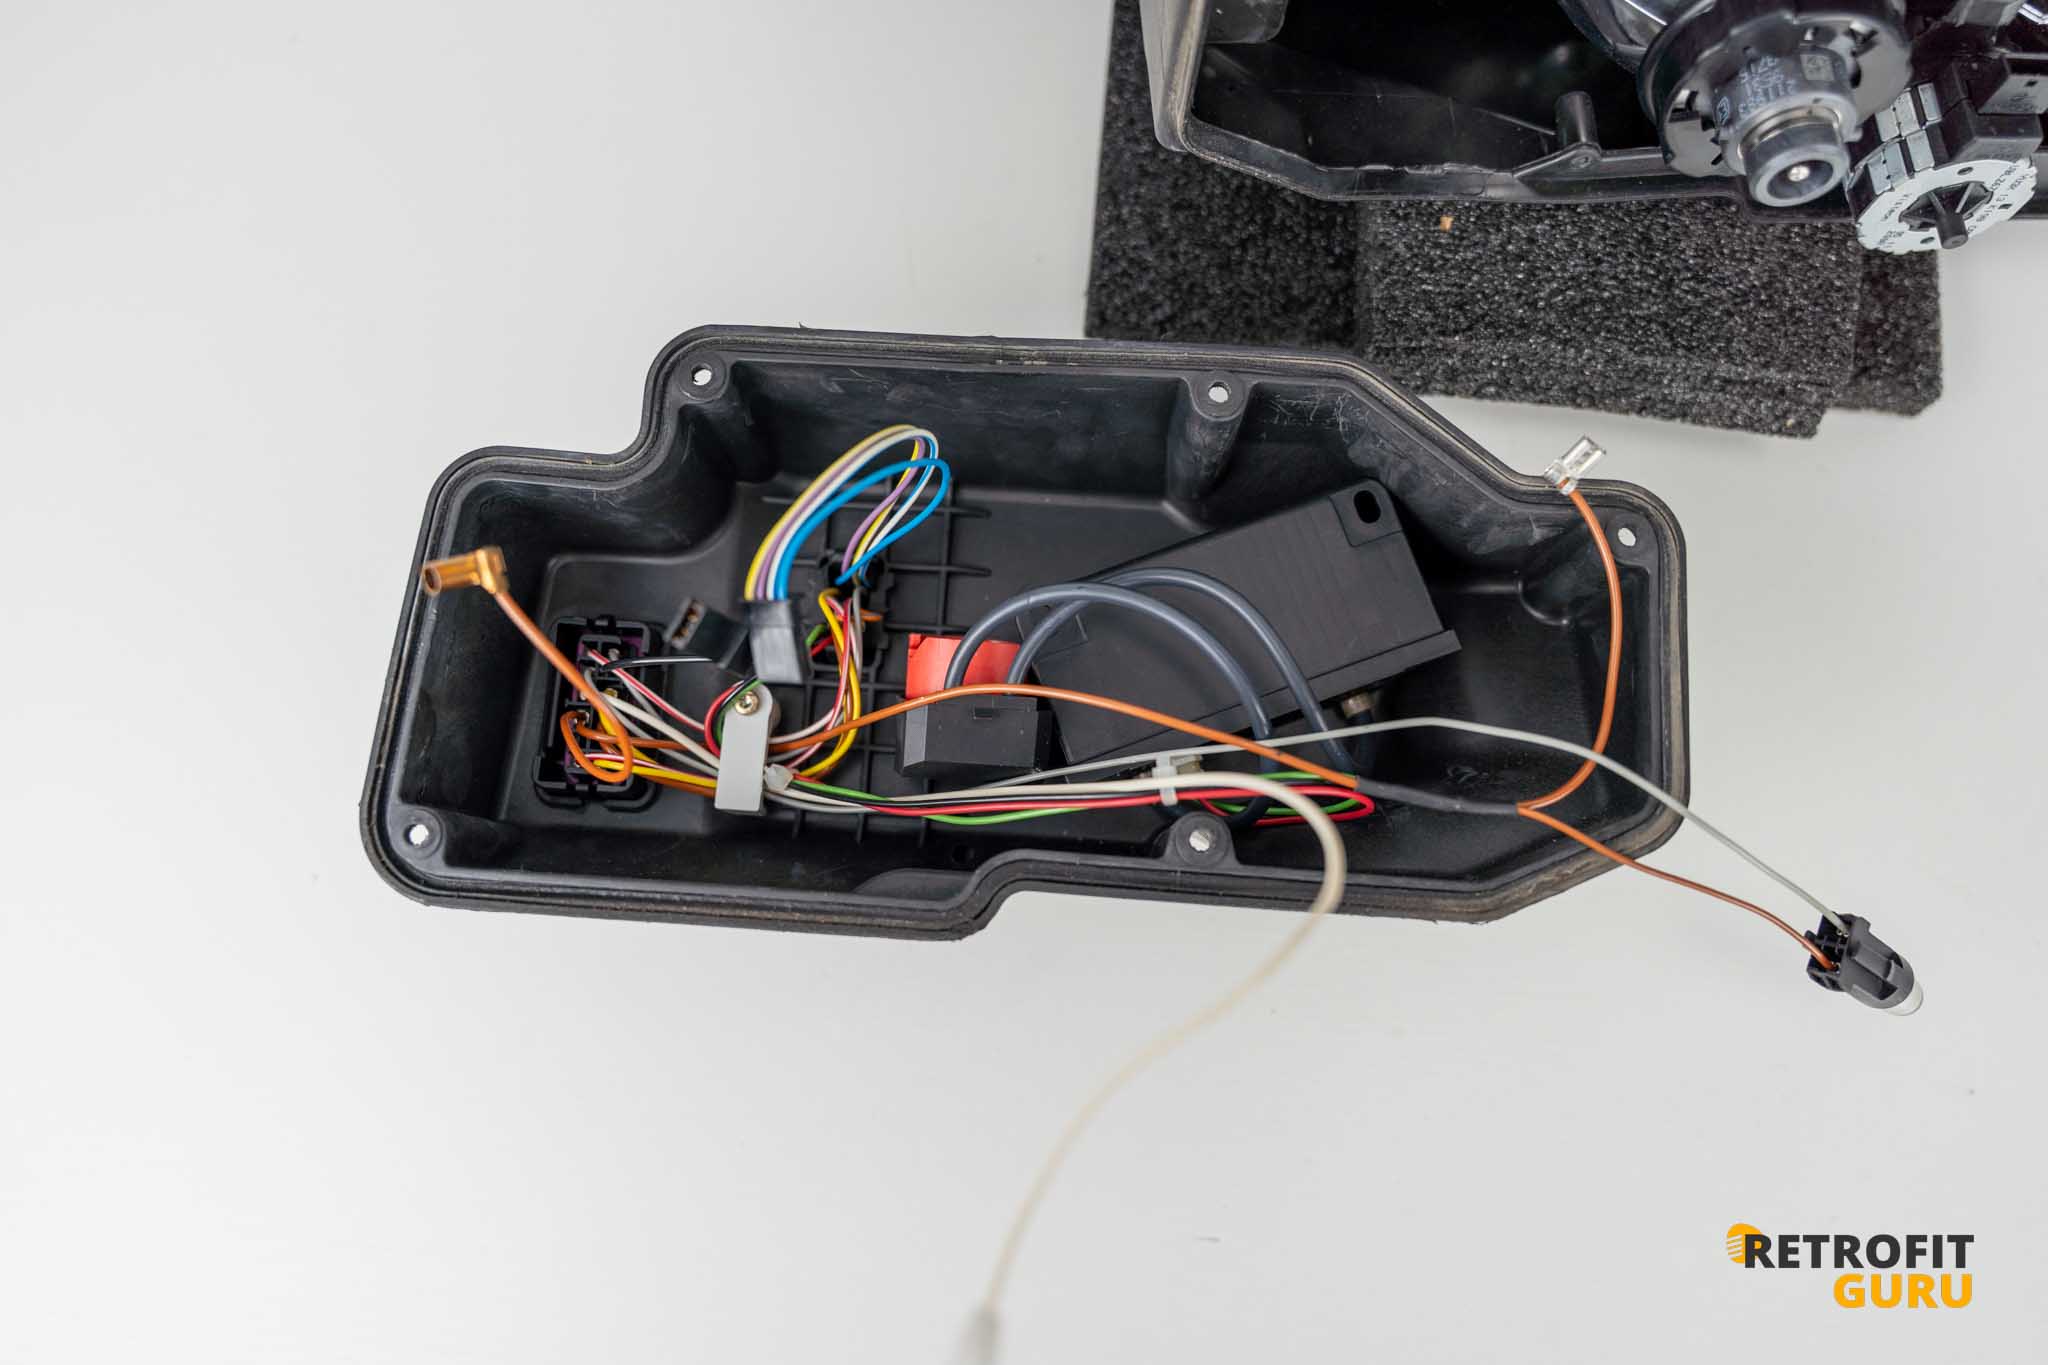
4. Disconnecting the Wiring
- Disconnect all wiring to allow the rear headlight cover to be set aside.
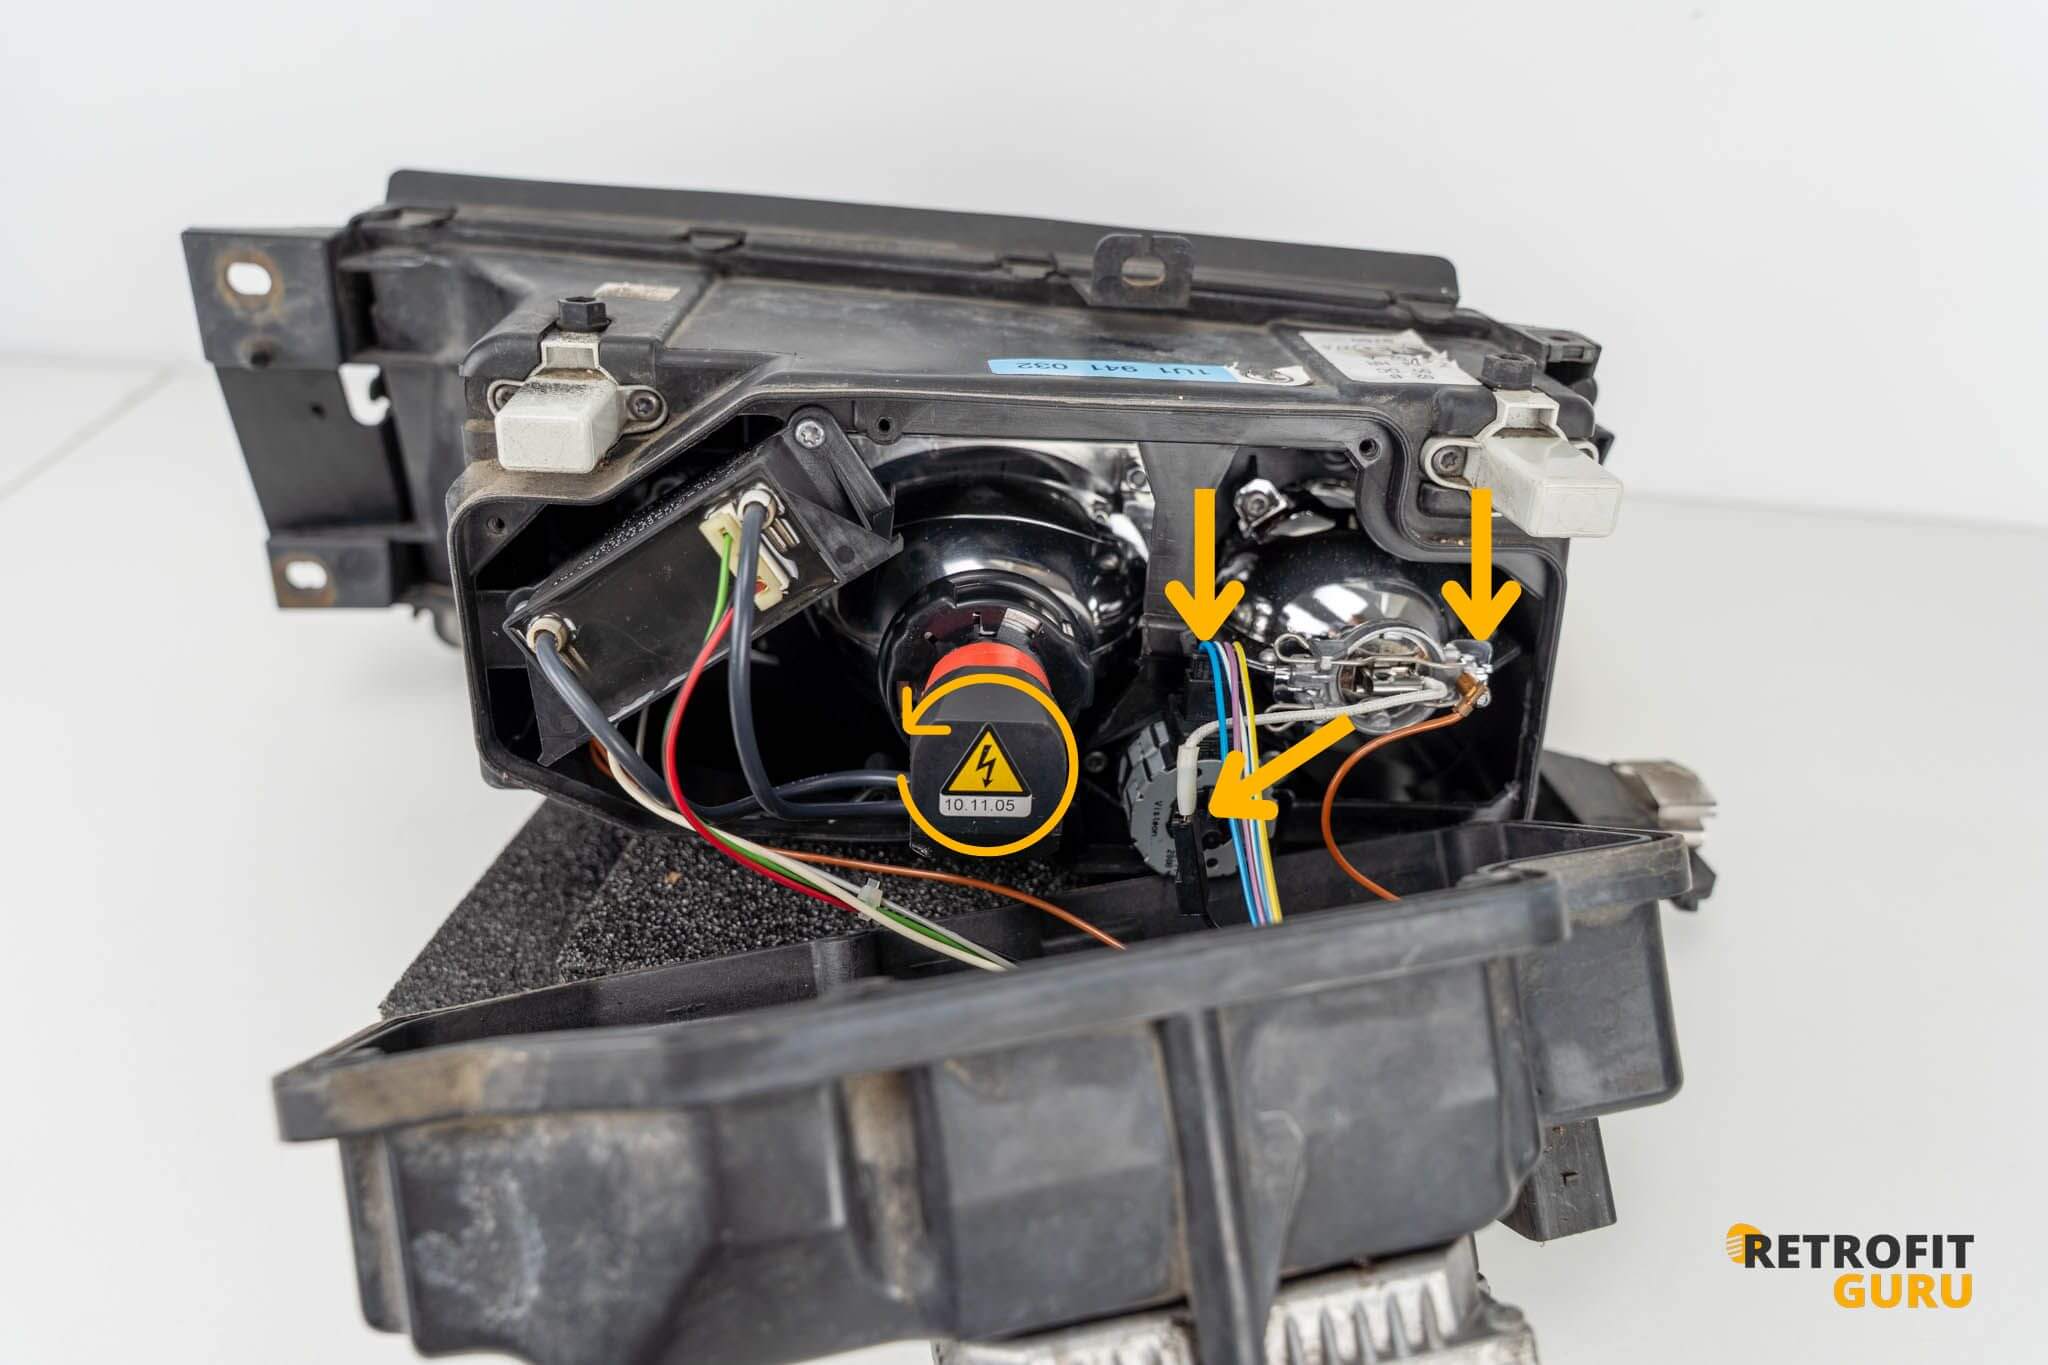
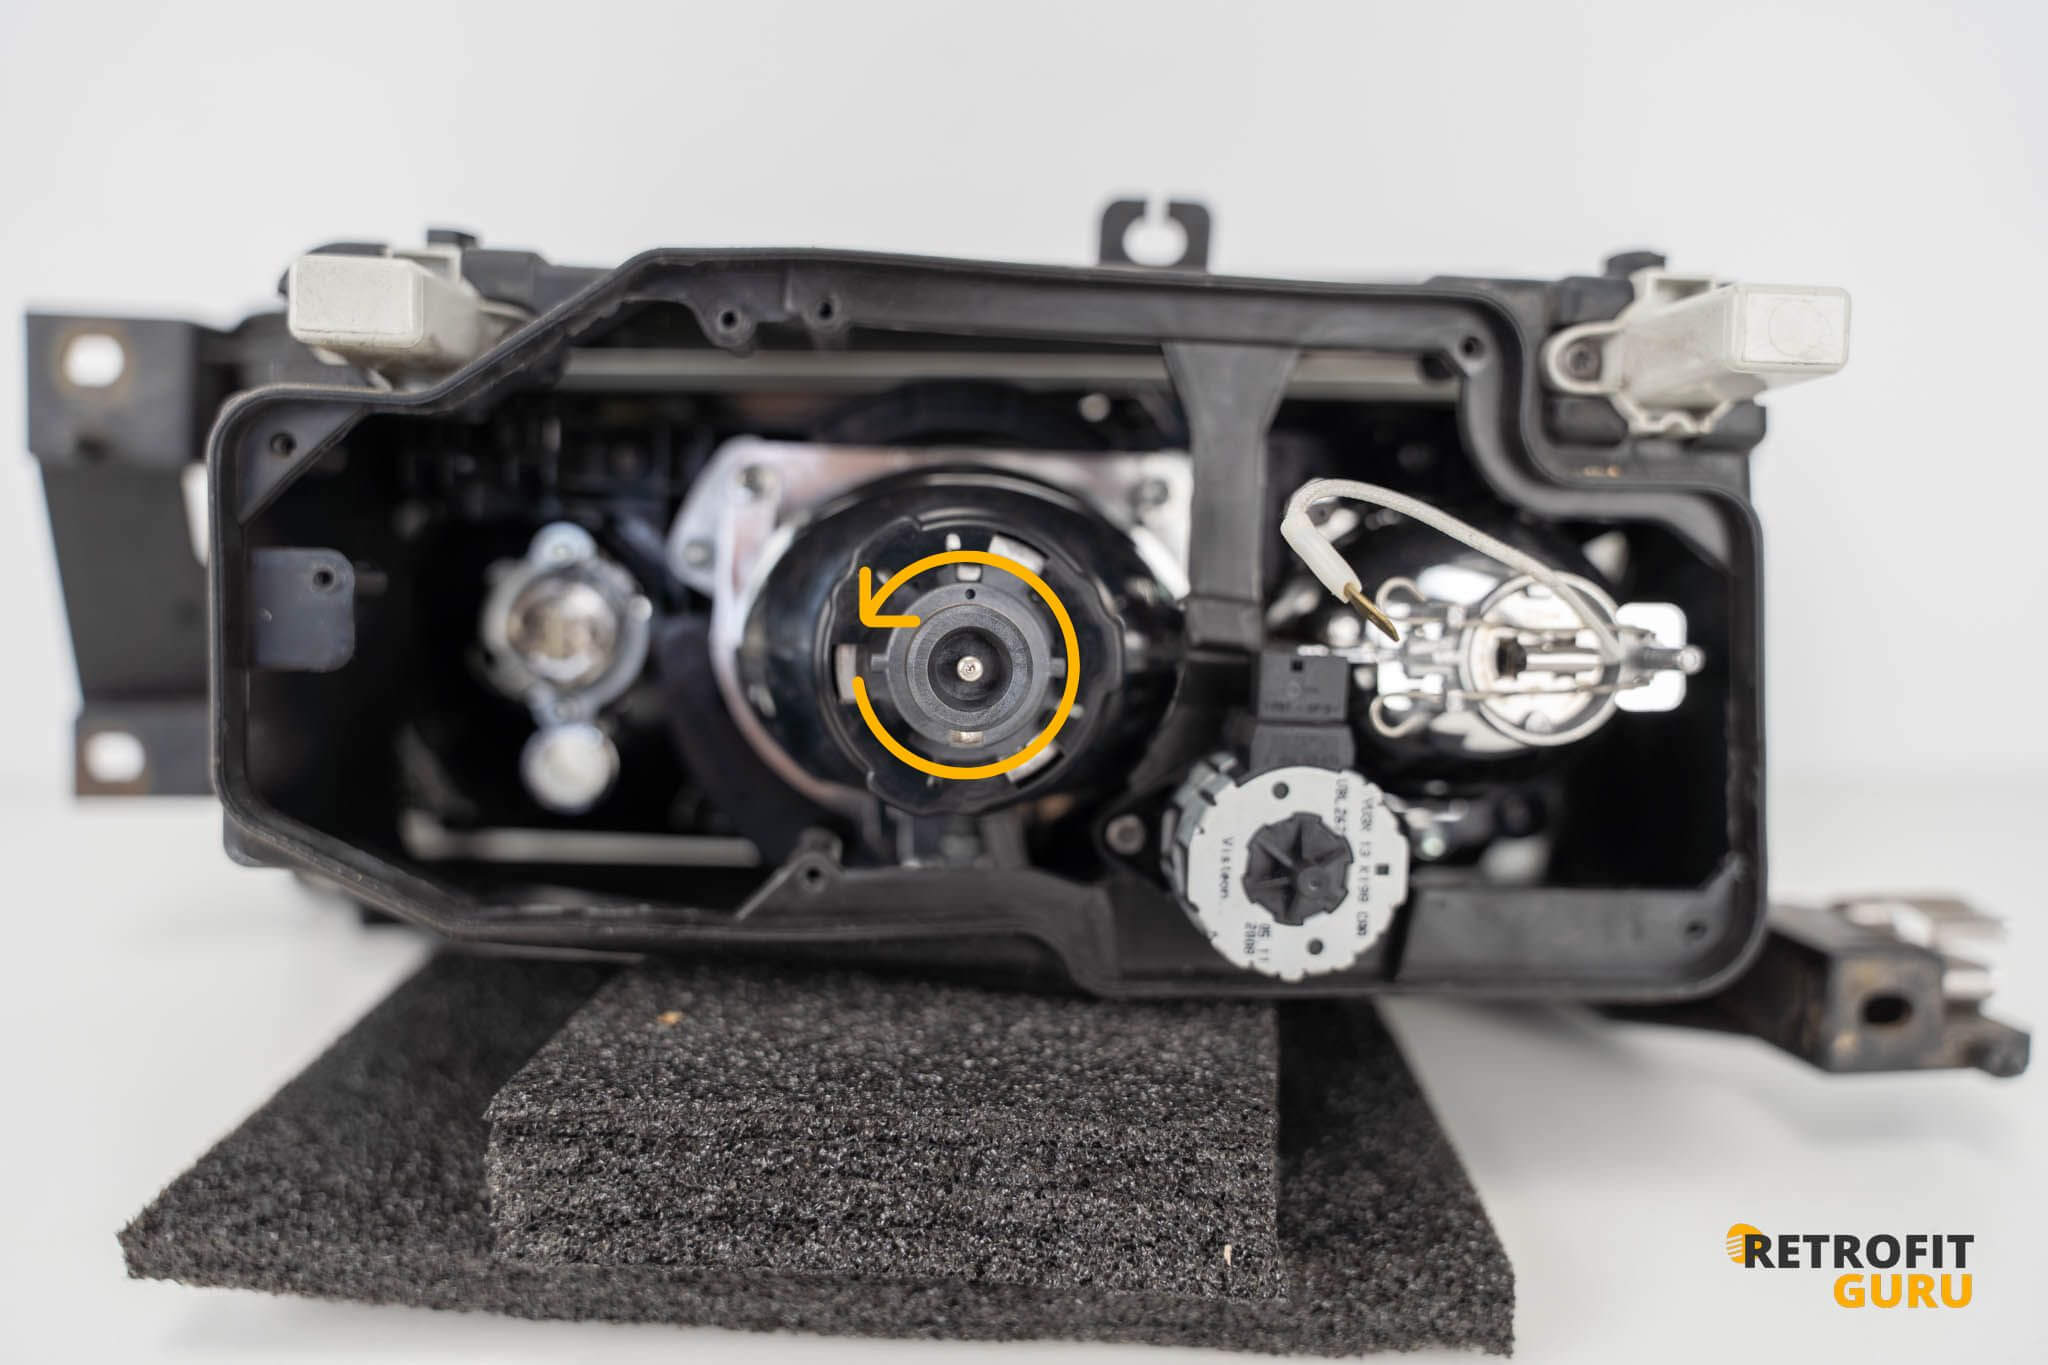
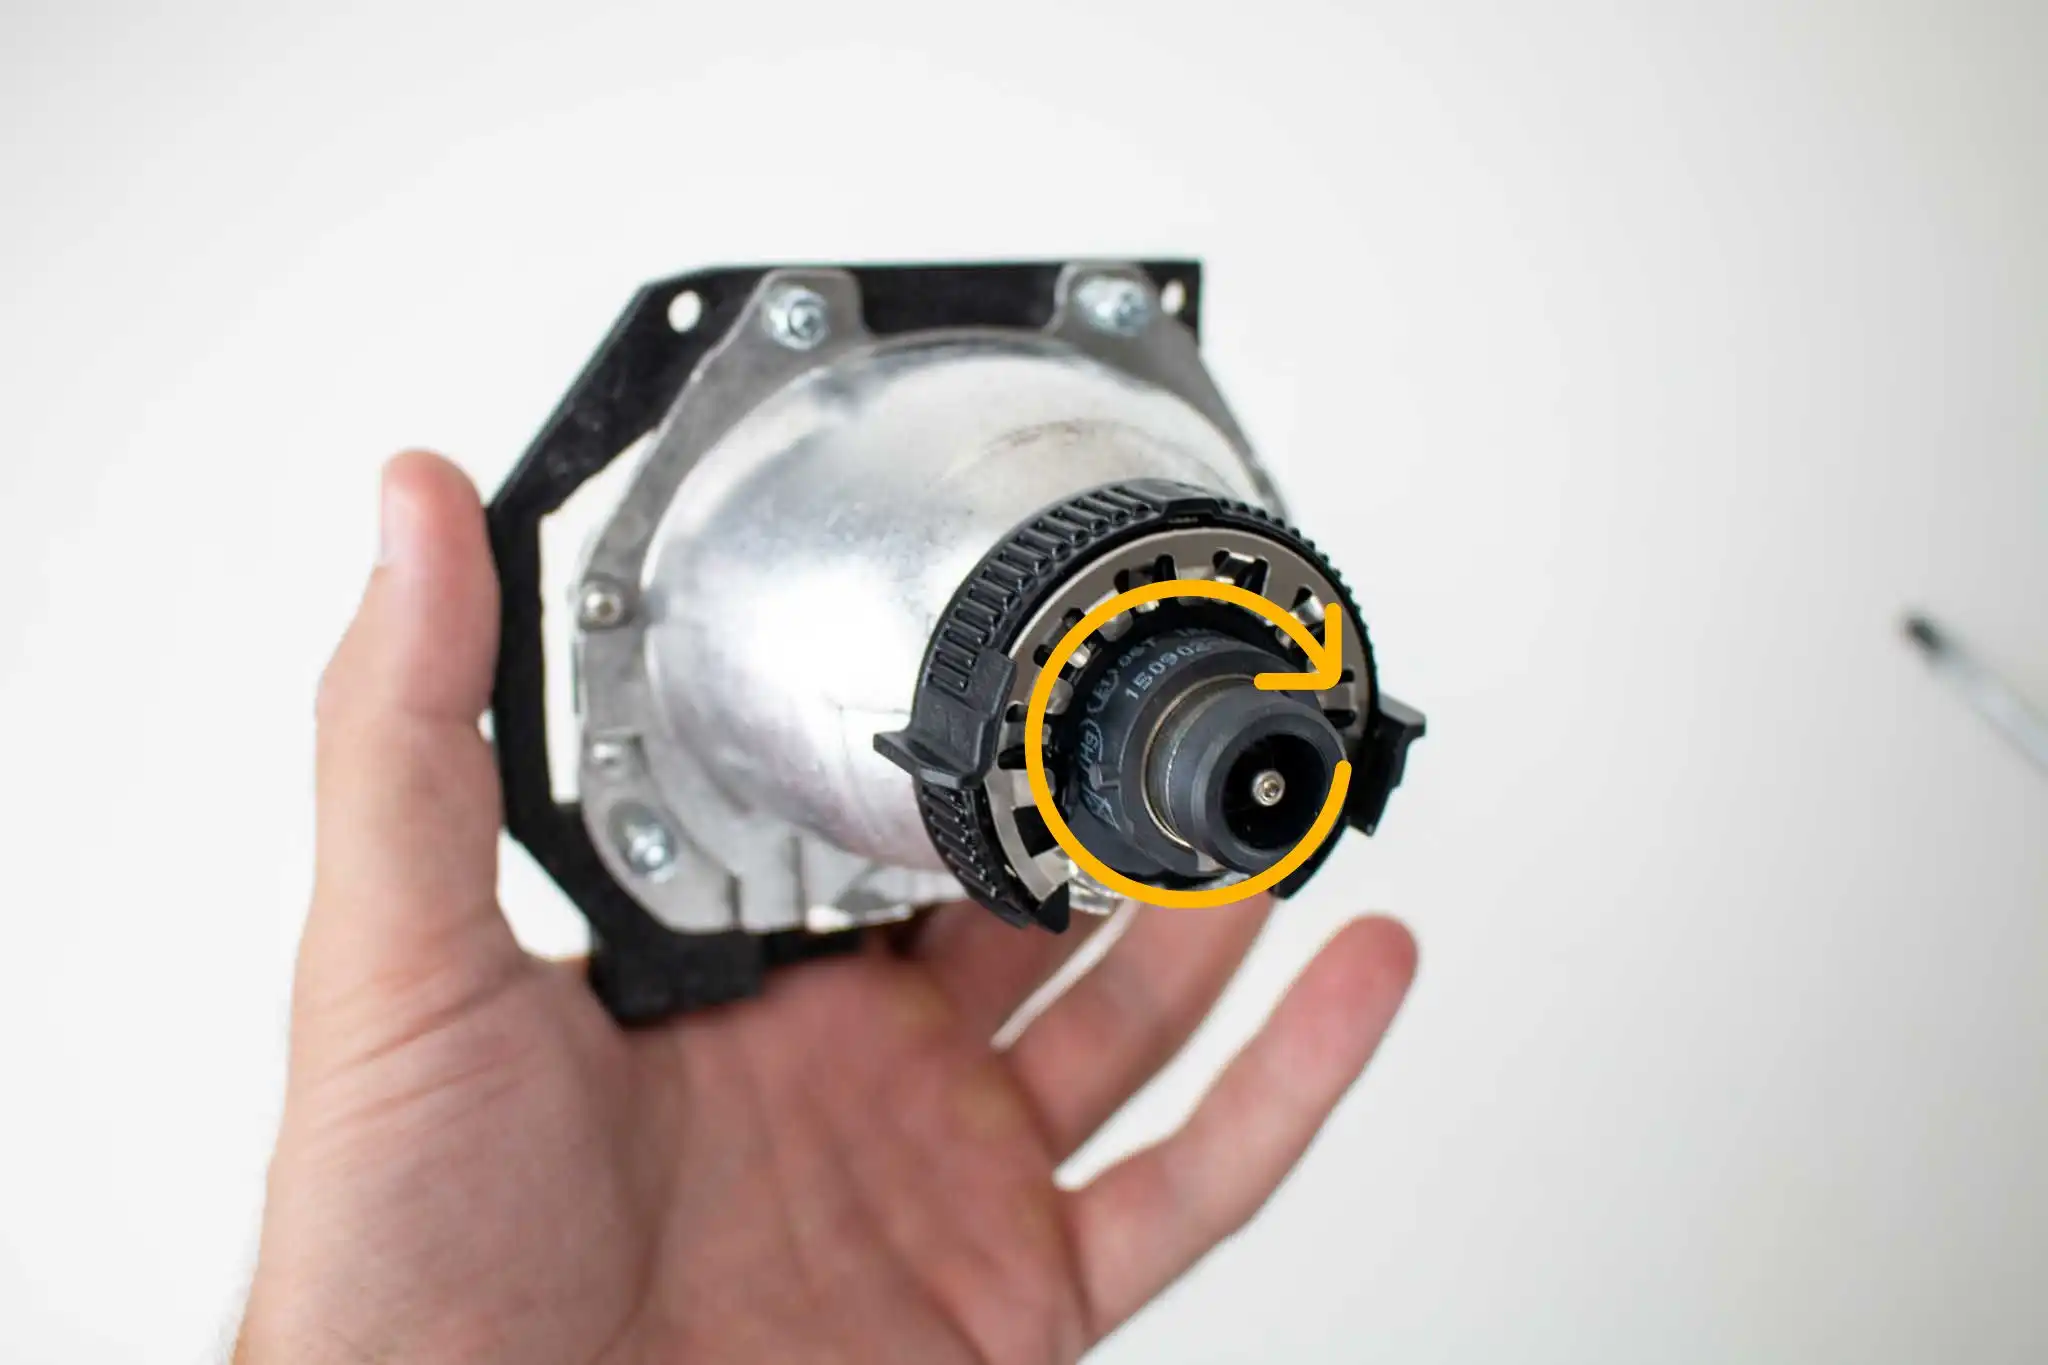
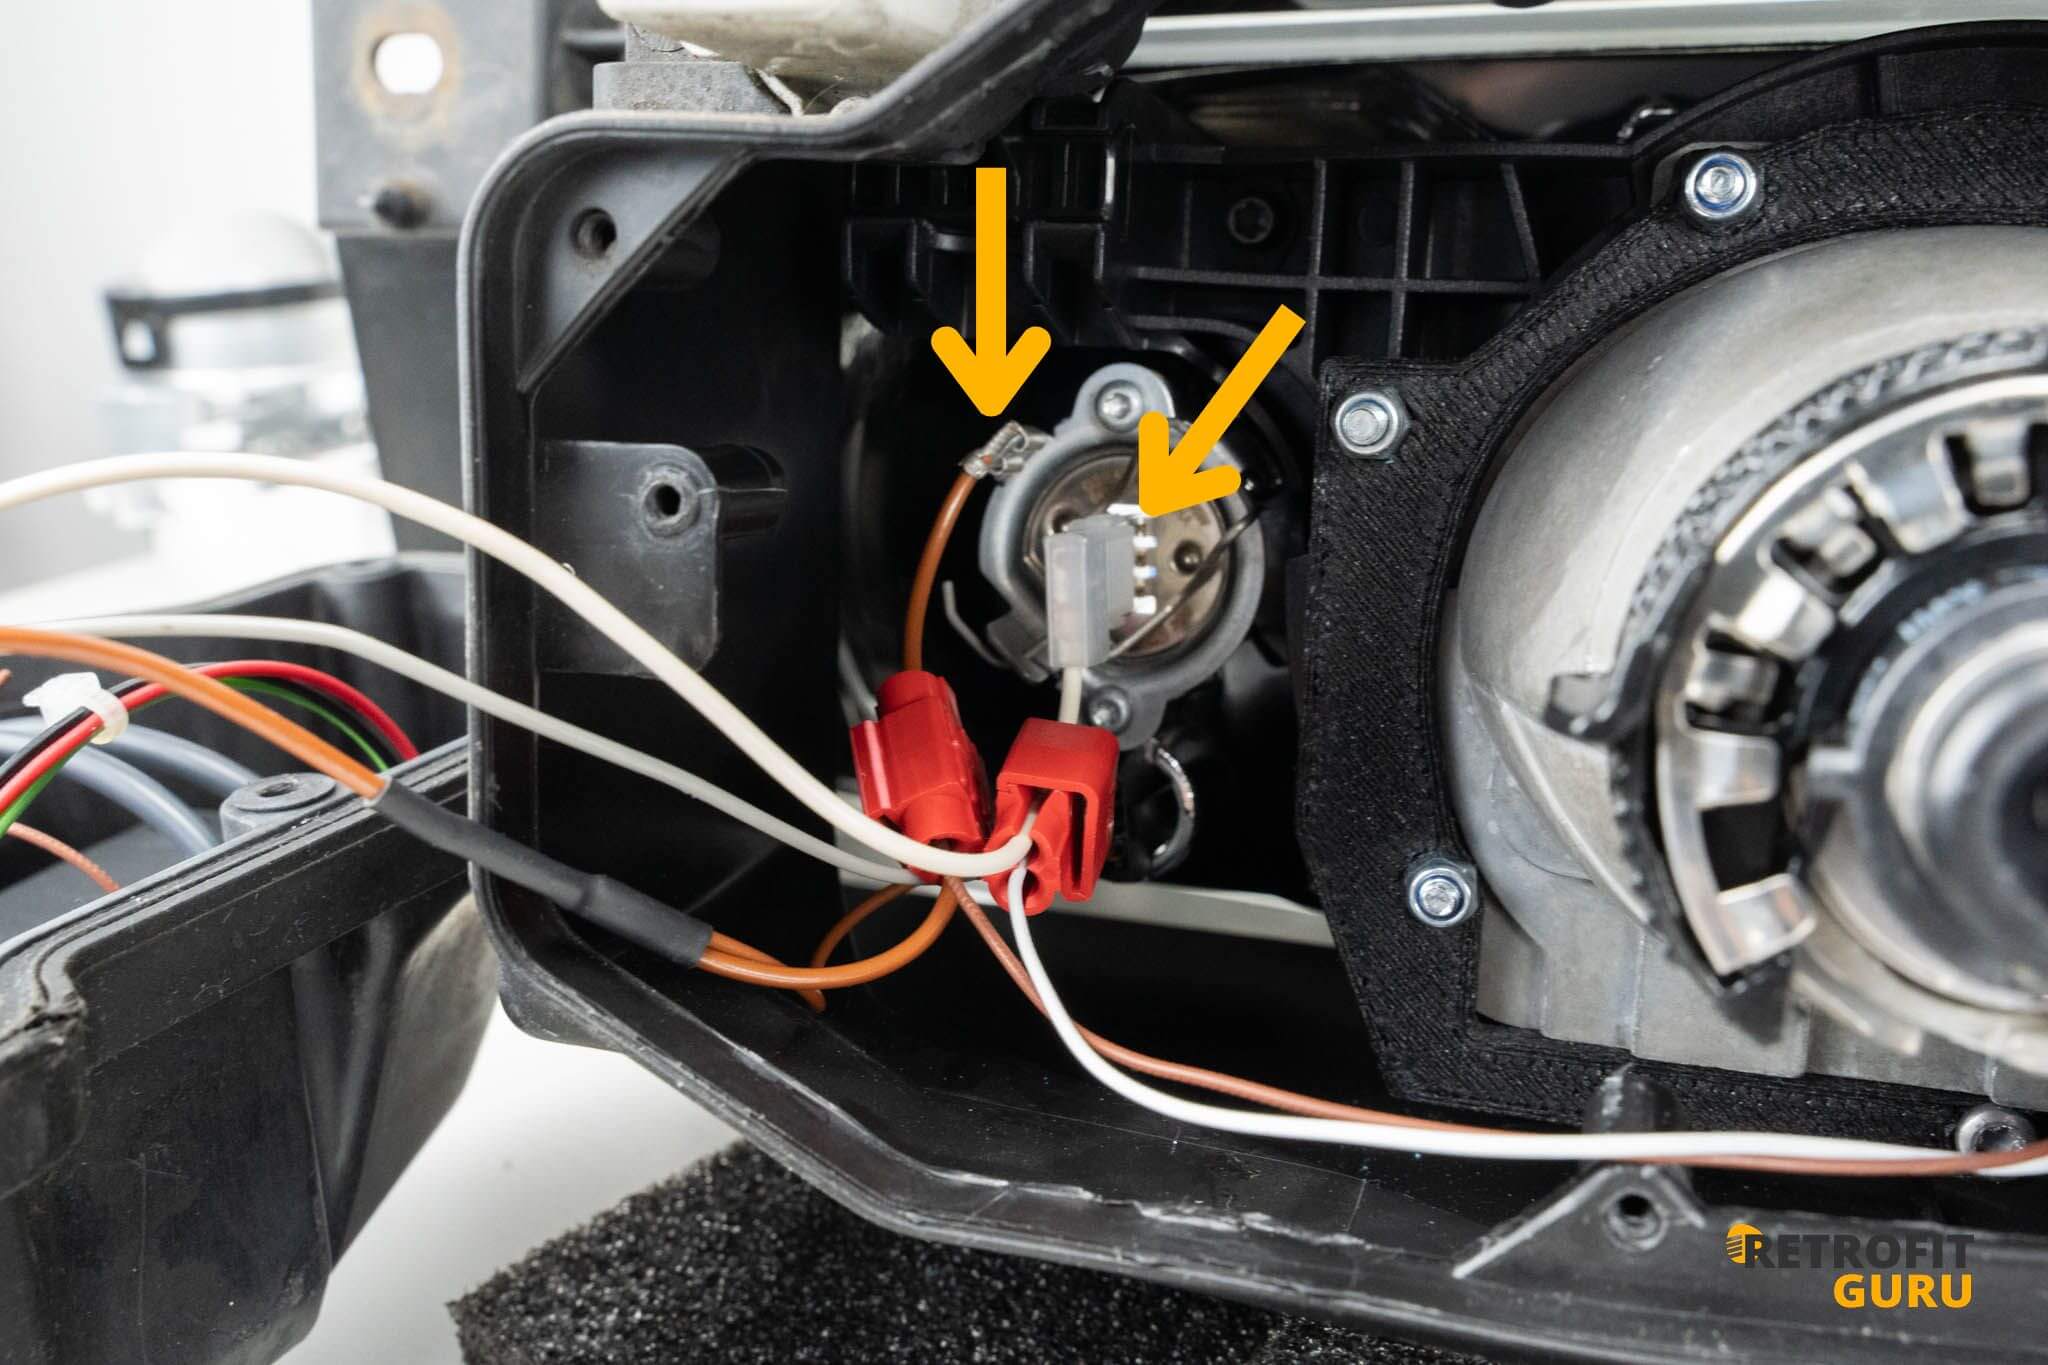
5. Disassembly of the bulb
- Unscrew the bulb by turning the holder counterclockwise and remove it.
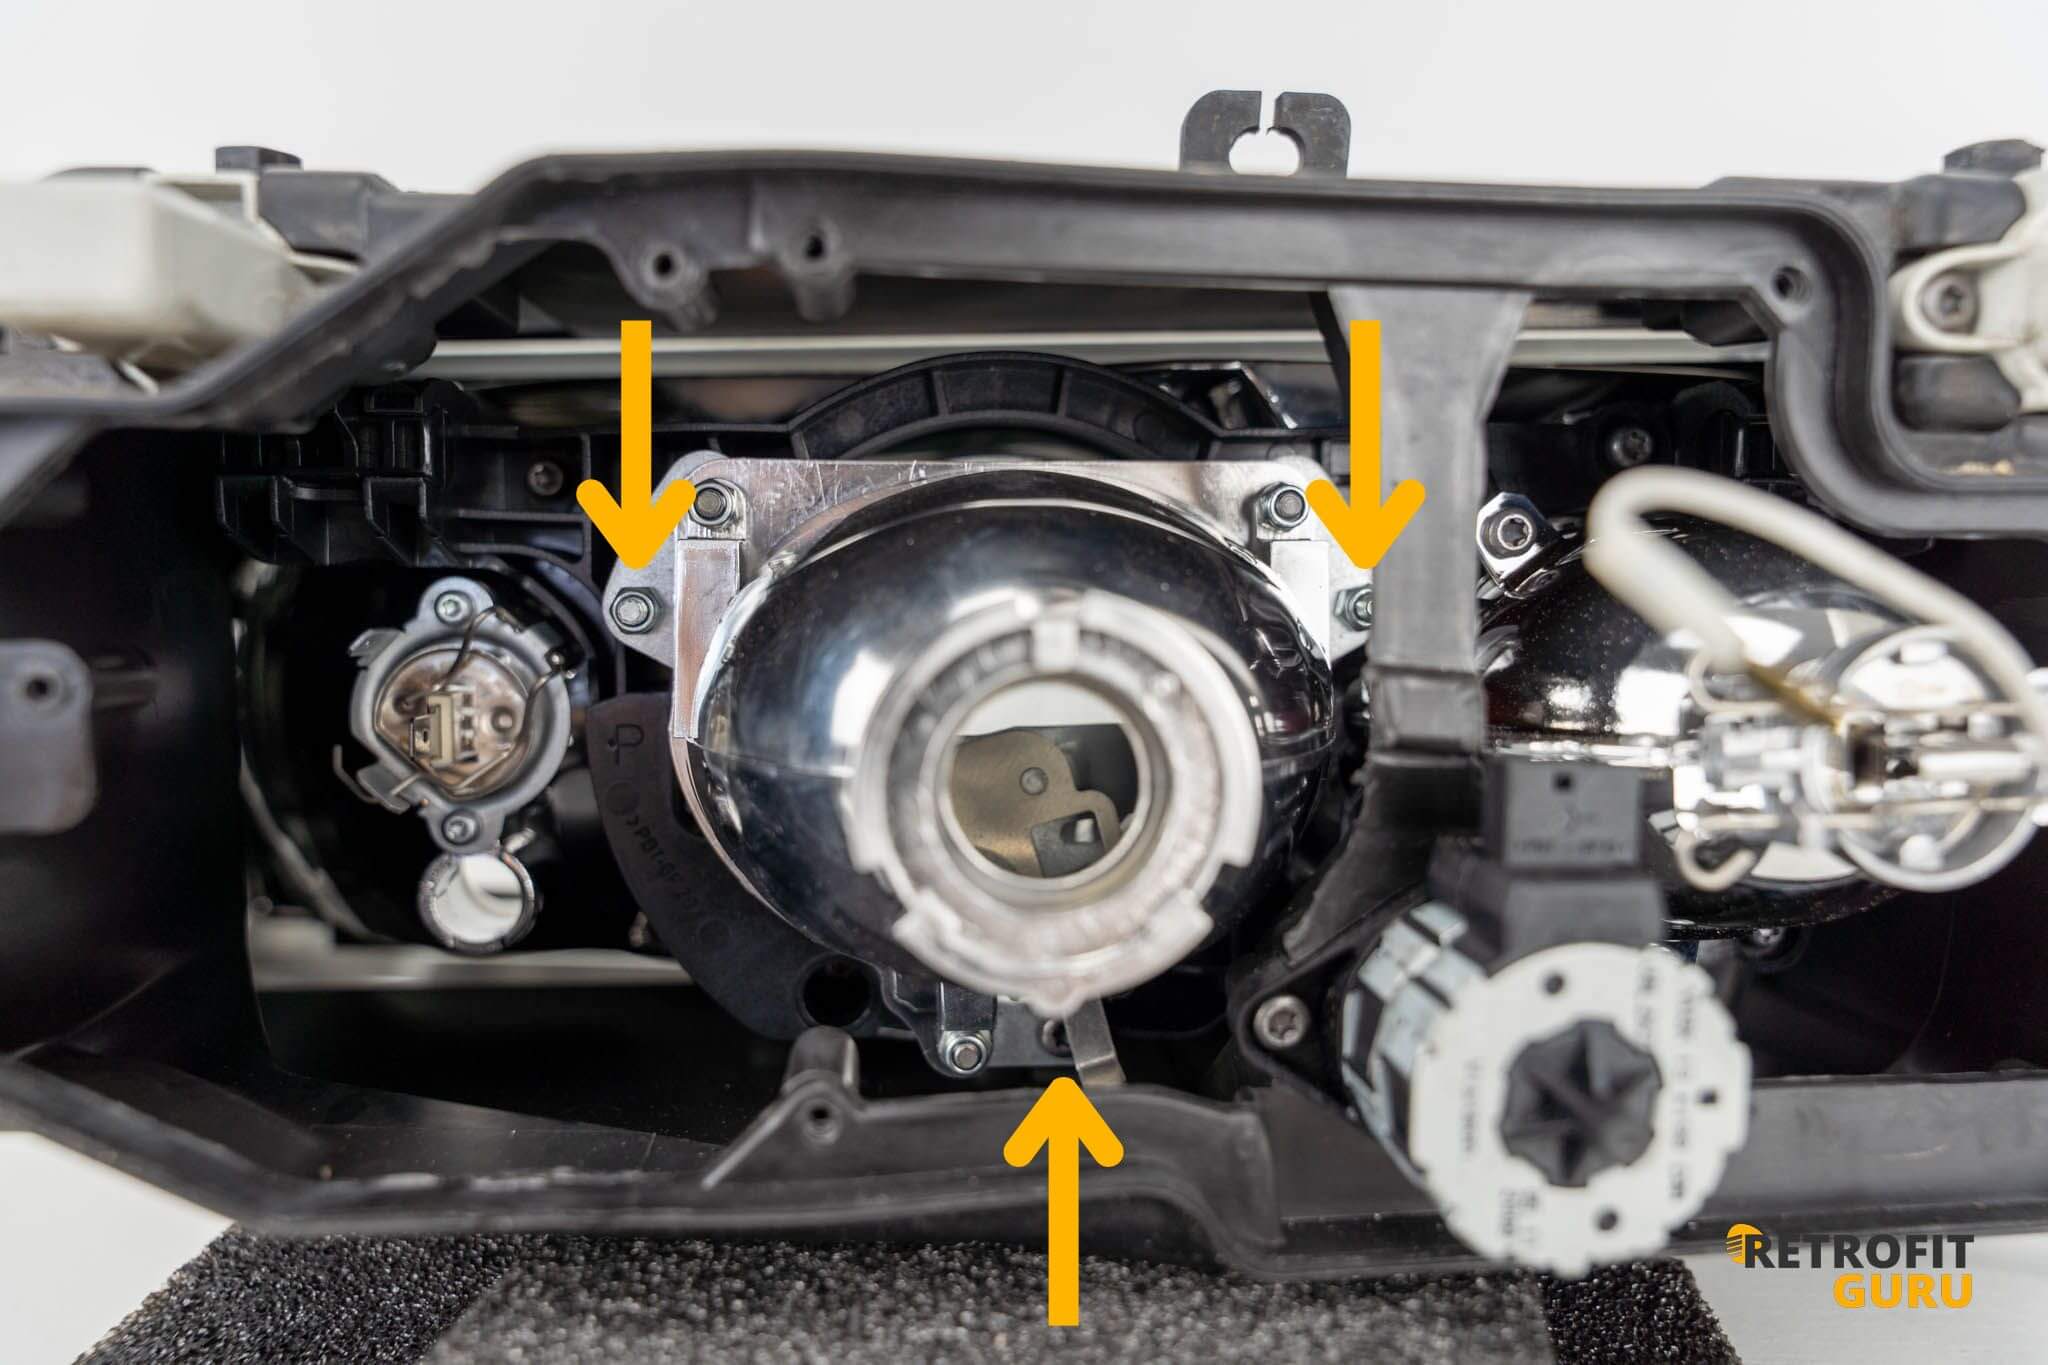
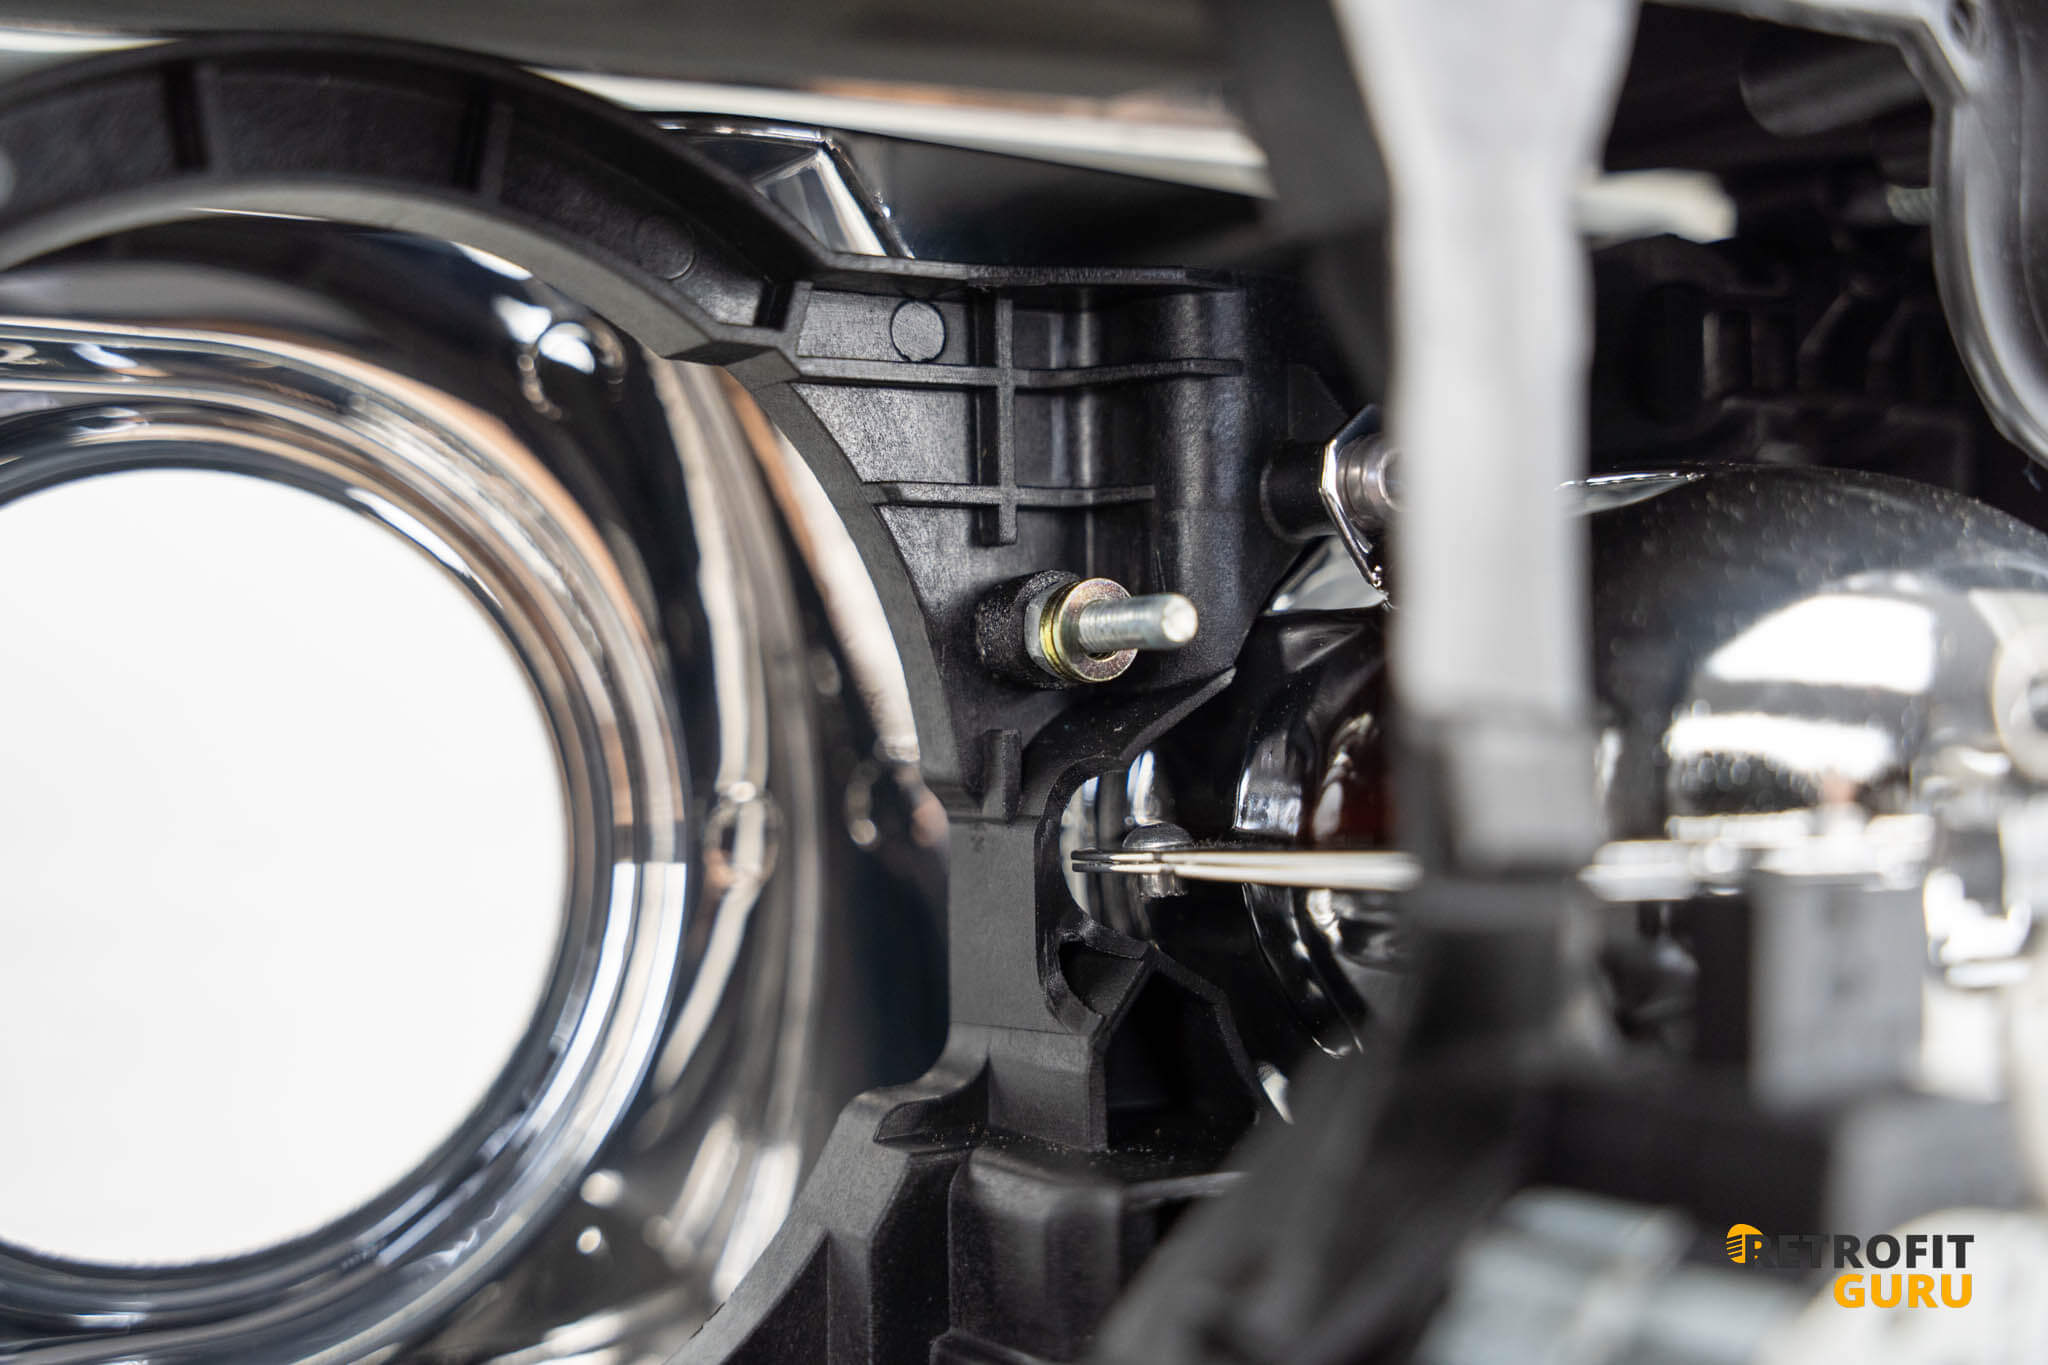
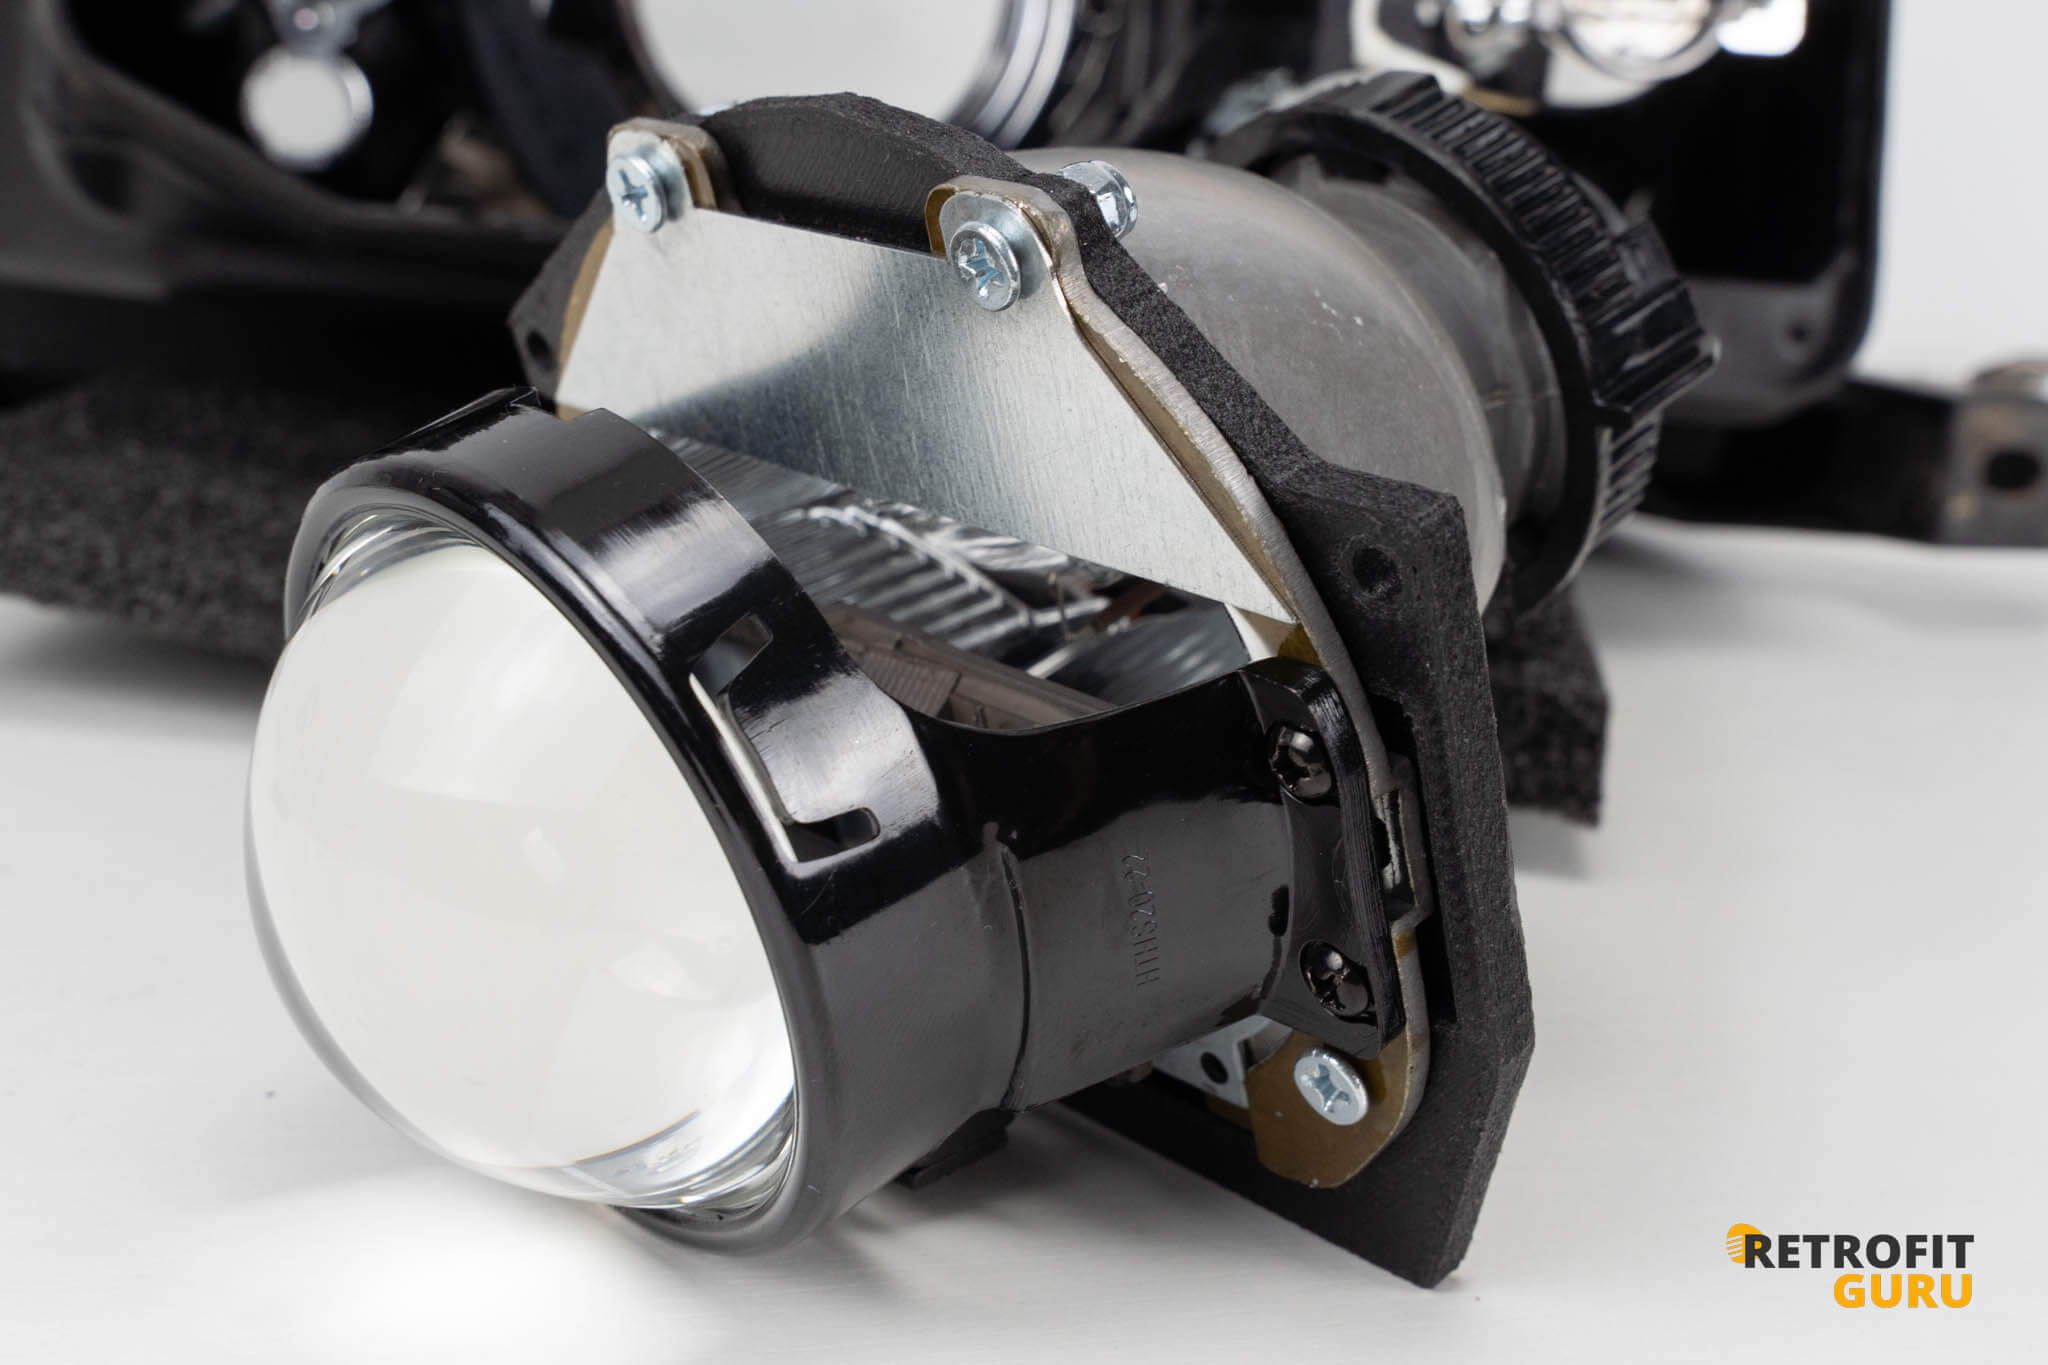
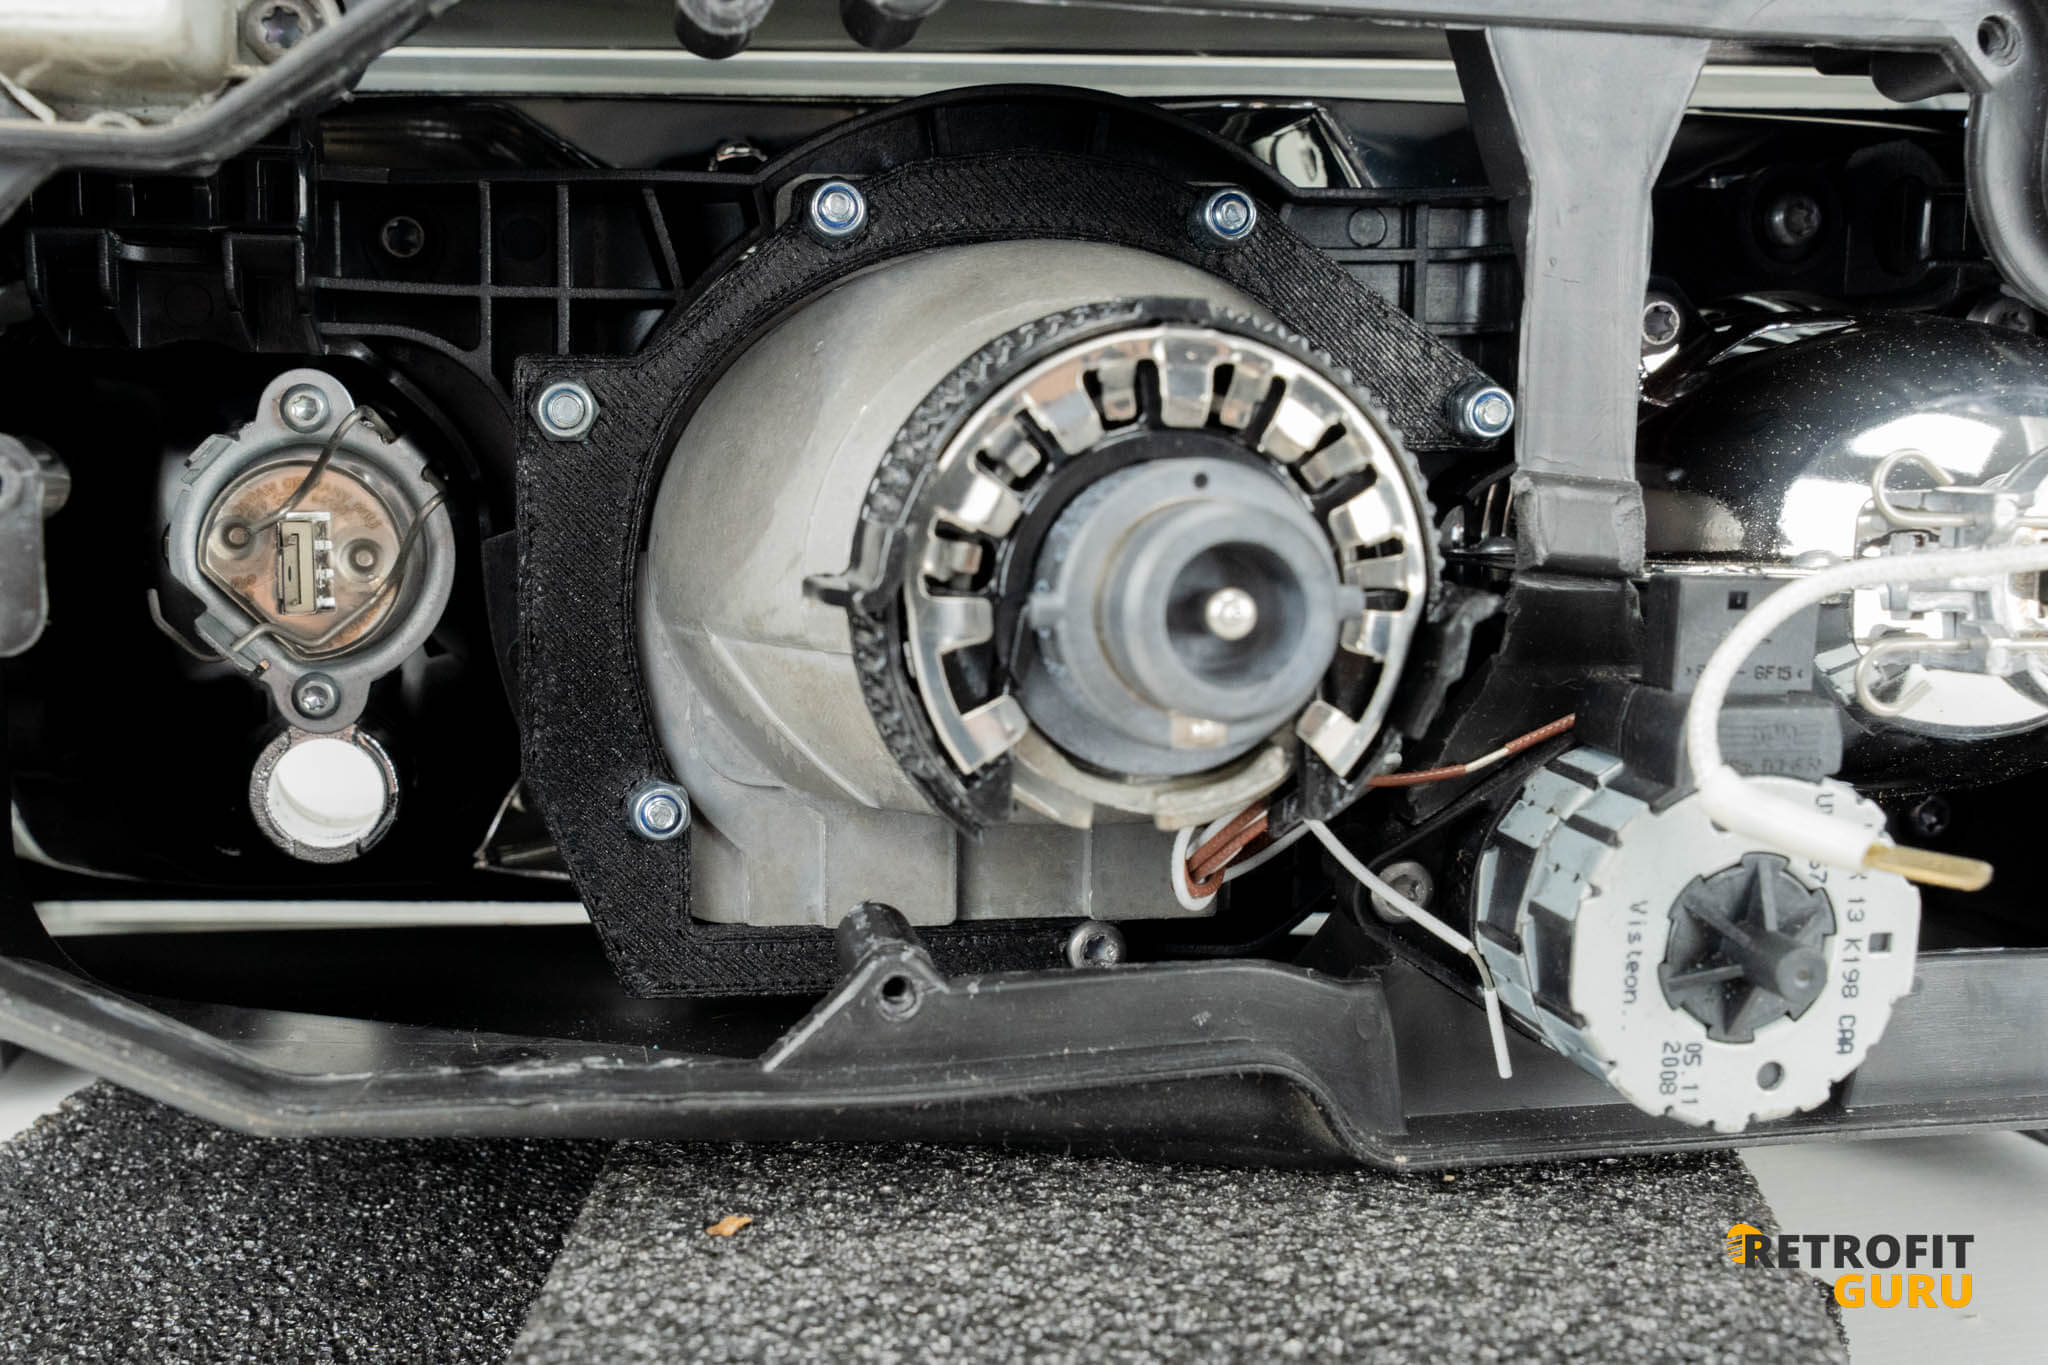
6. Removal of the projector
- Remove the two nuts and the Torx screw holding the projector in place.
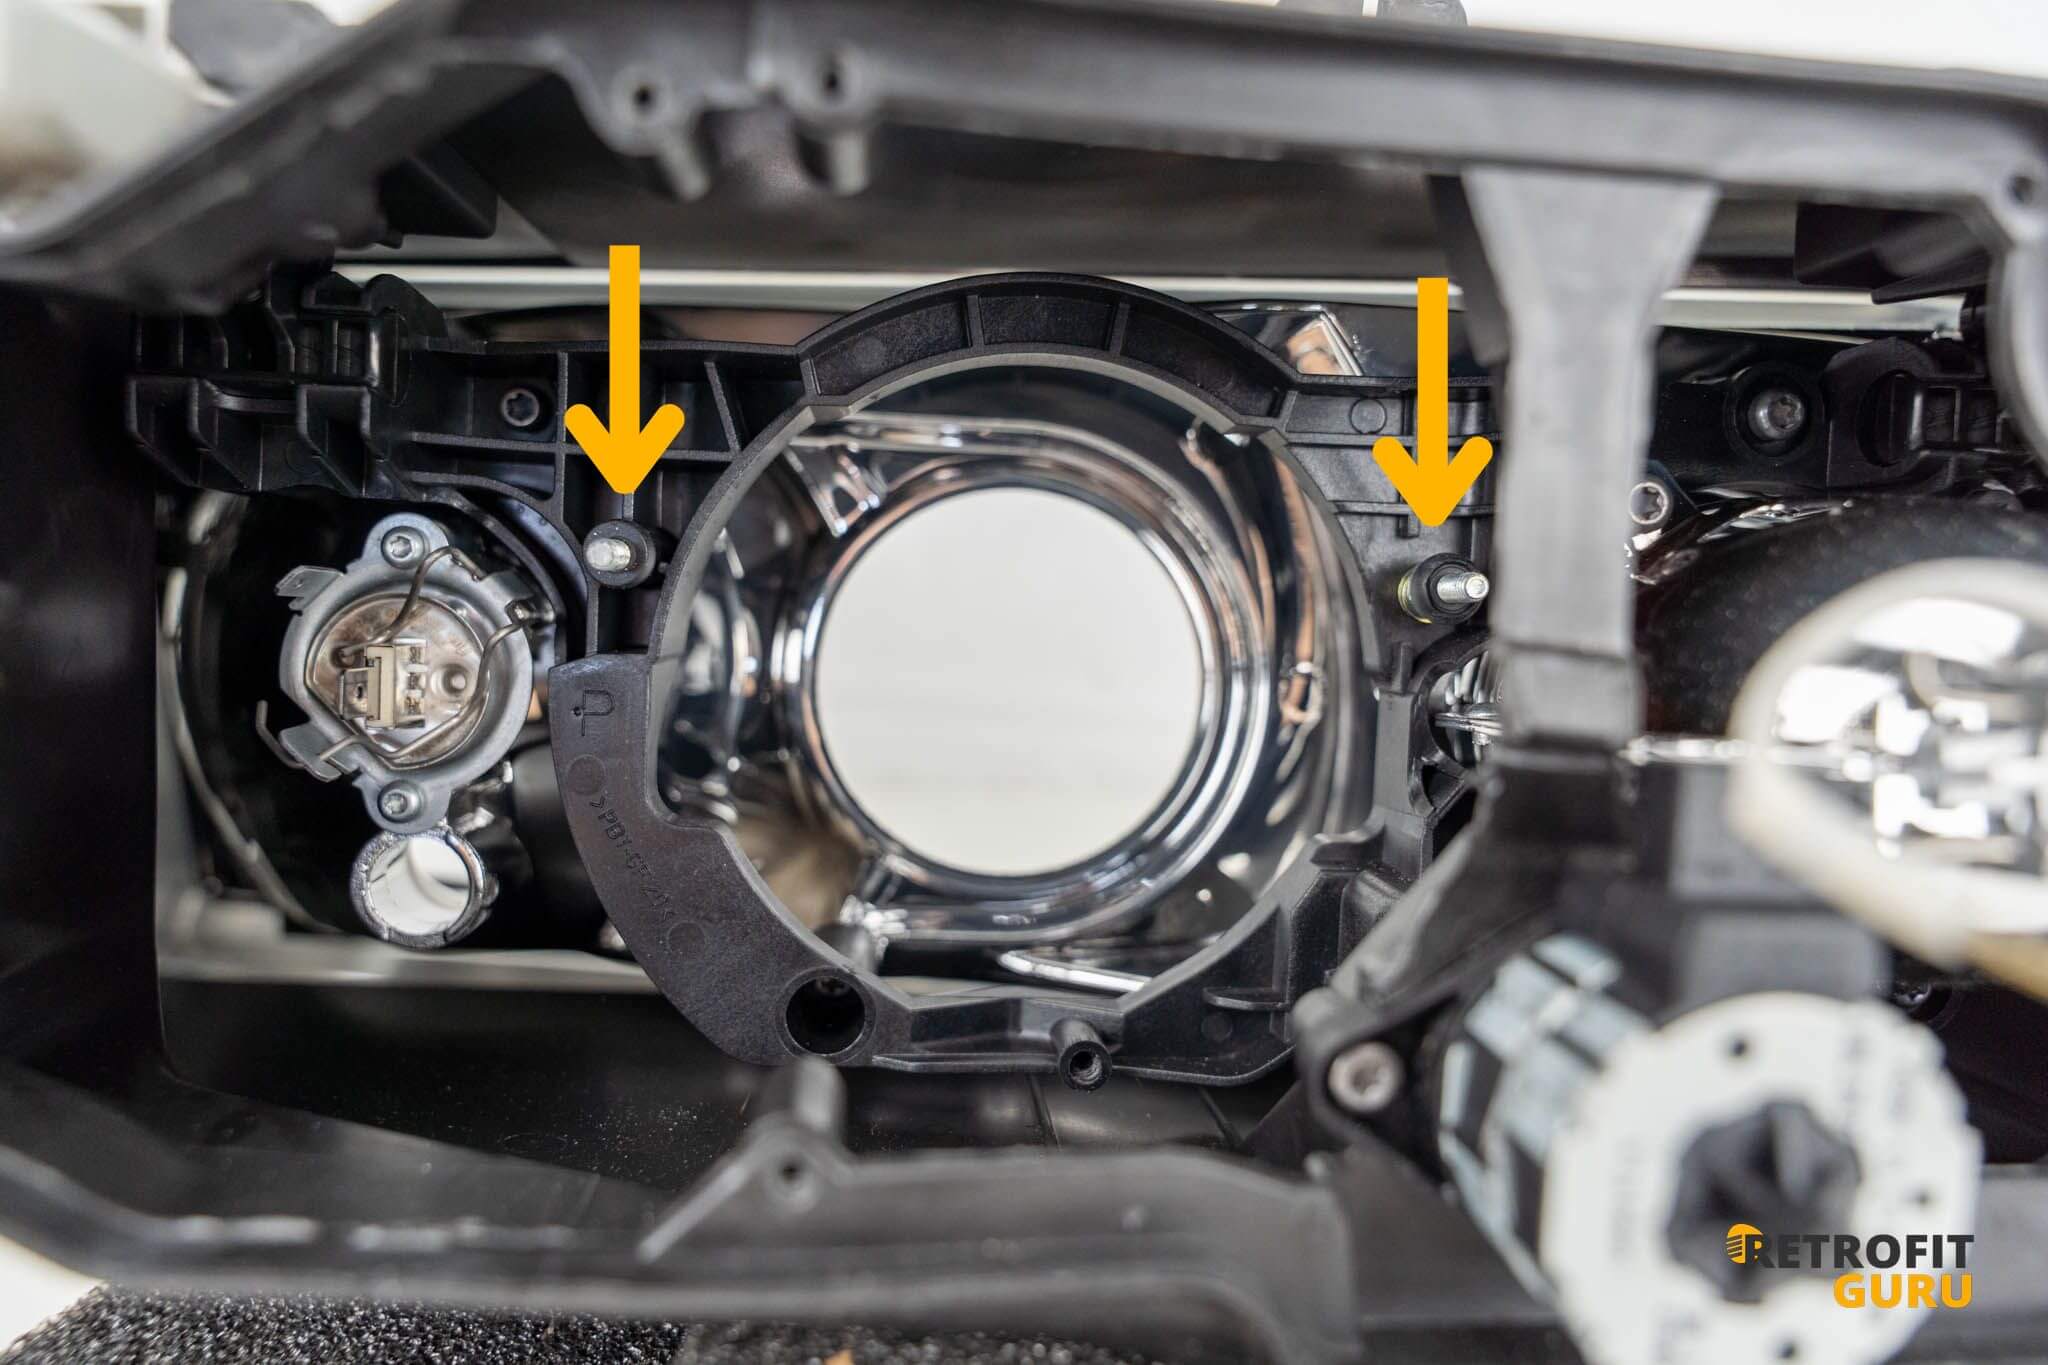
7. Disassembly and assembly of the screws holding the projector
- Remove the rubber bands from the screws and then unscrew the screws.
- Insert the black washer that came in the package onto the side of the self-tapping thread
- If there were washers on the screw, insert them on the metric thread side as shown in the photo

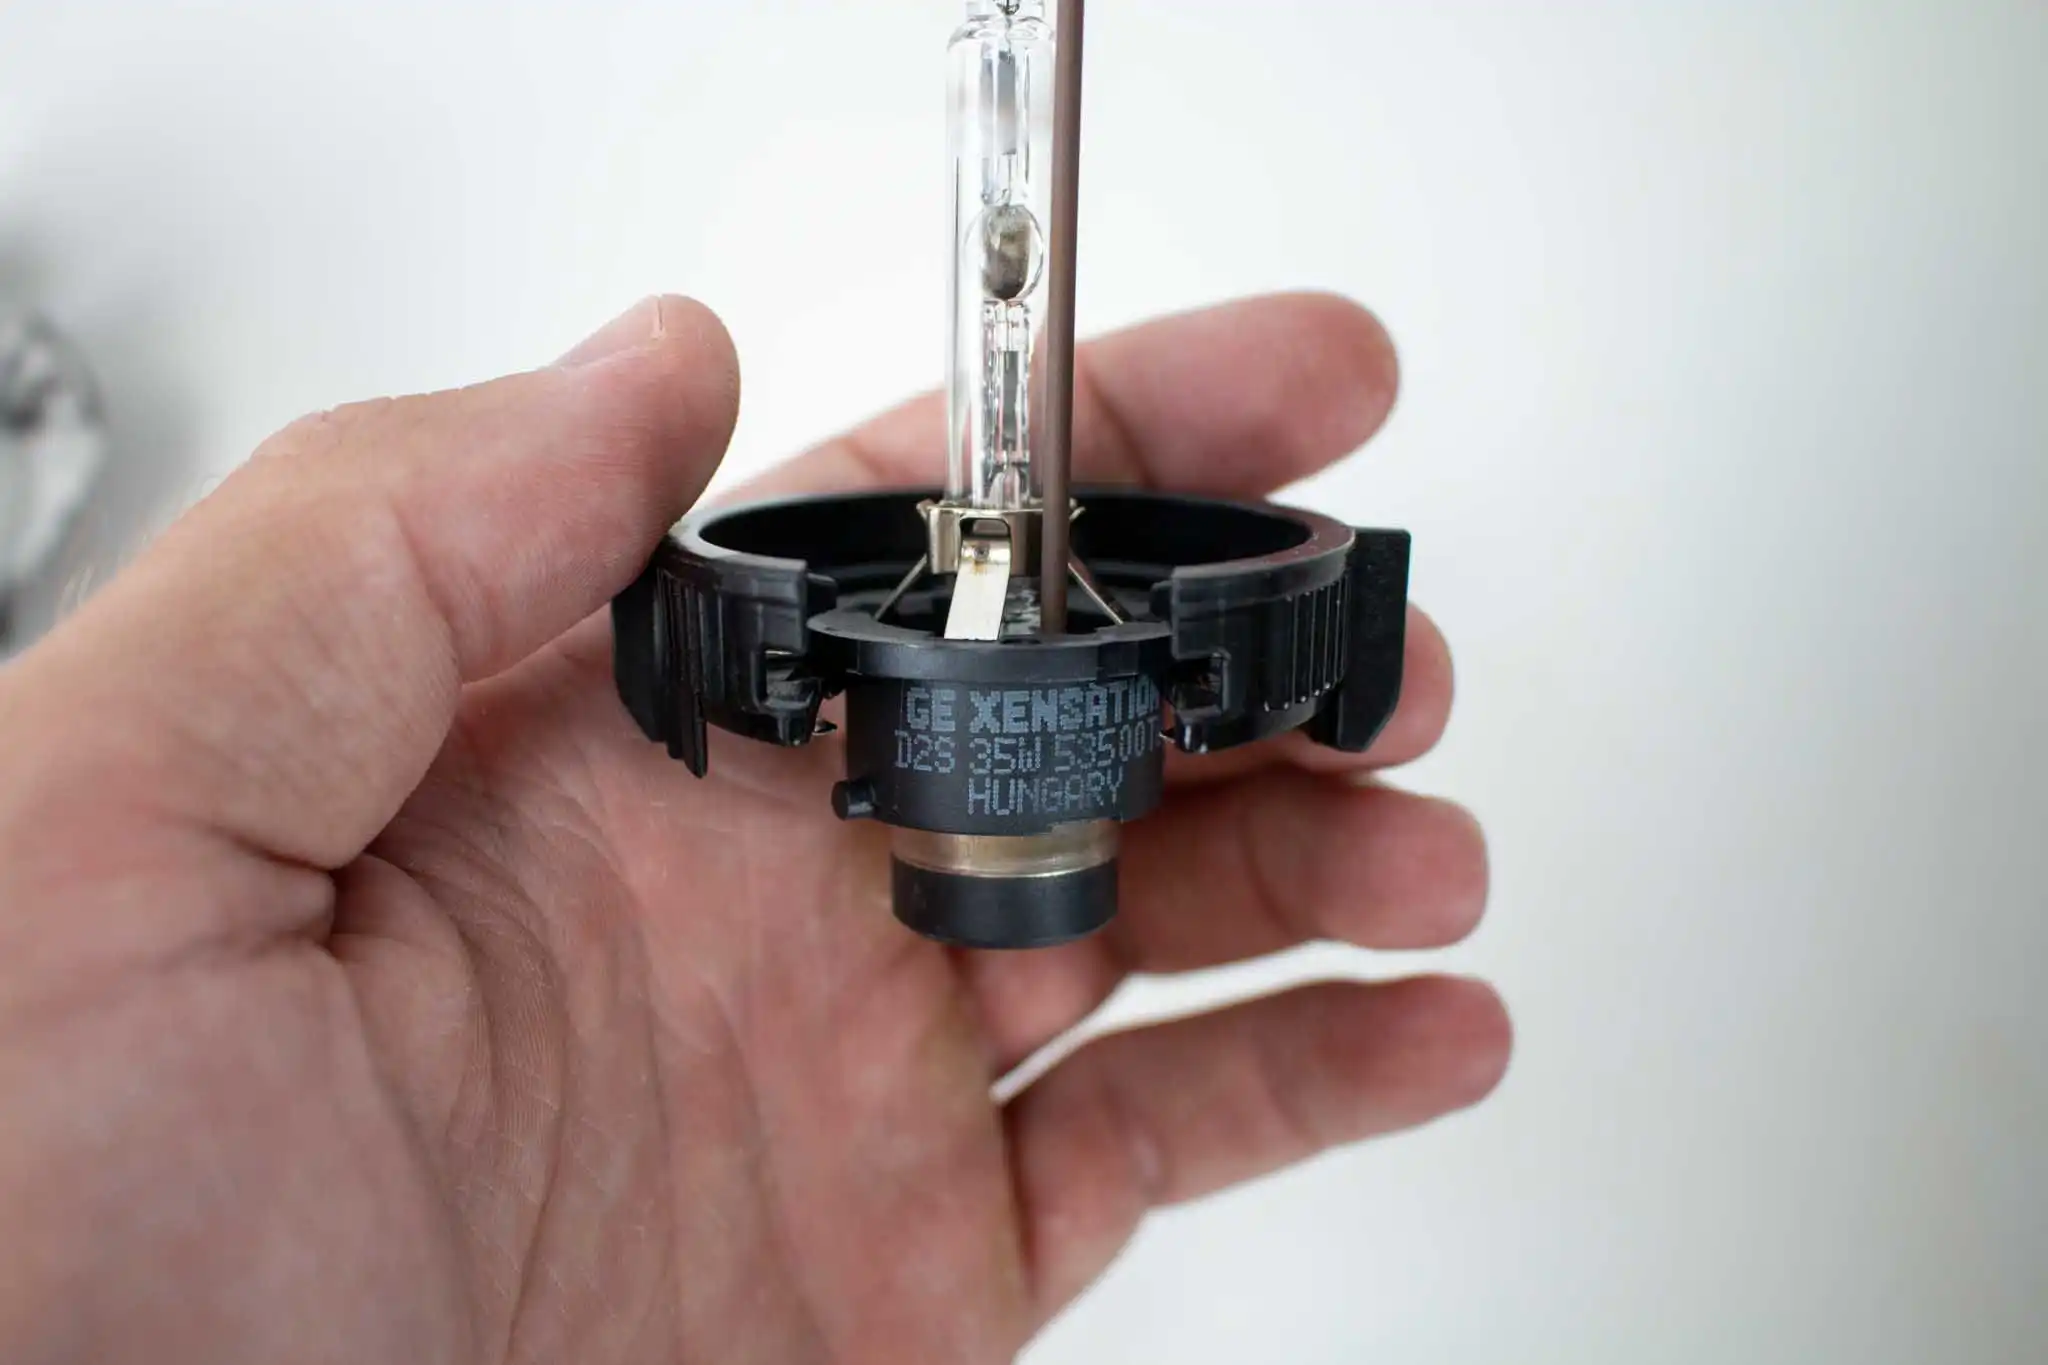
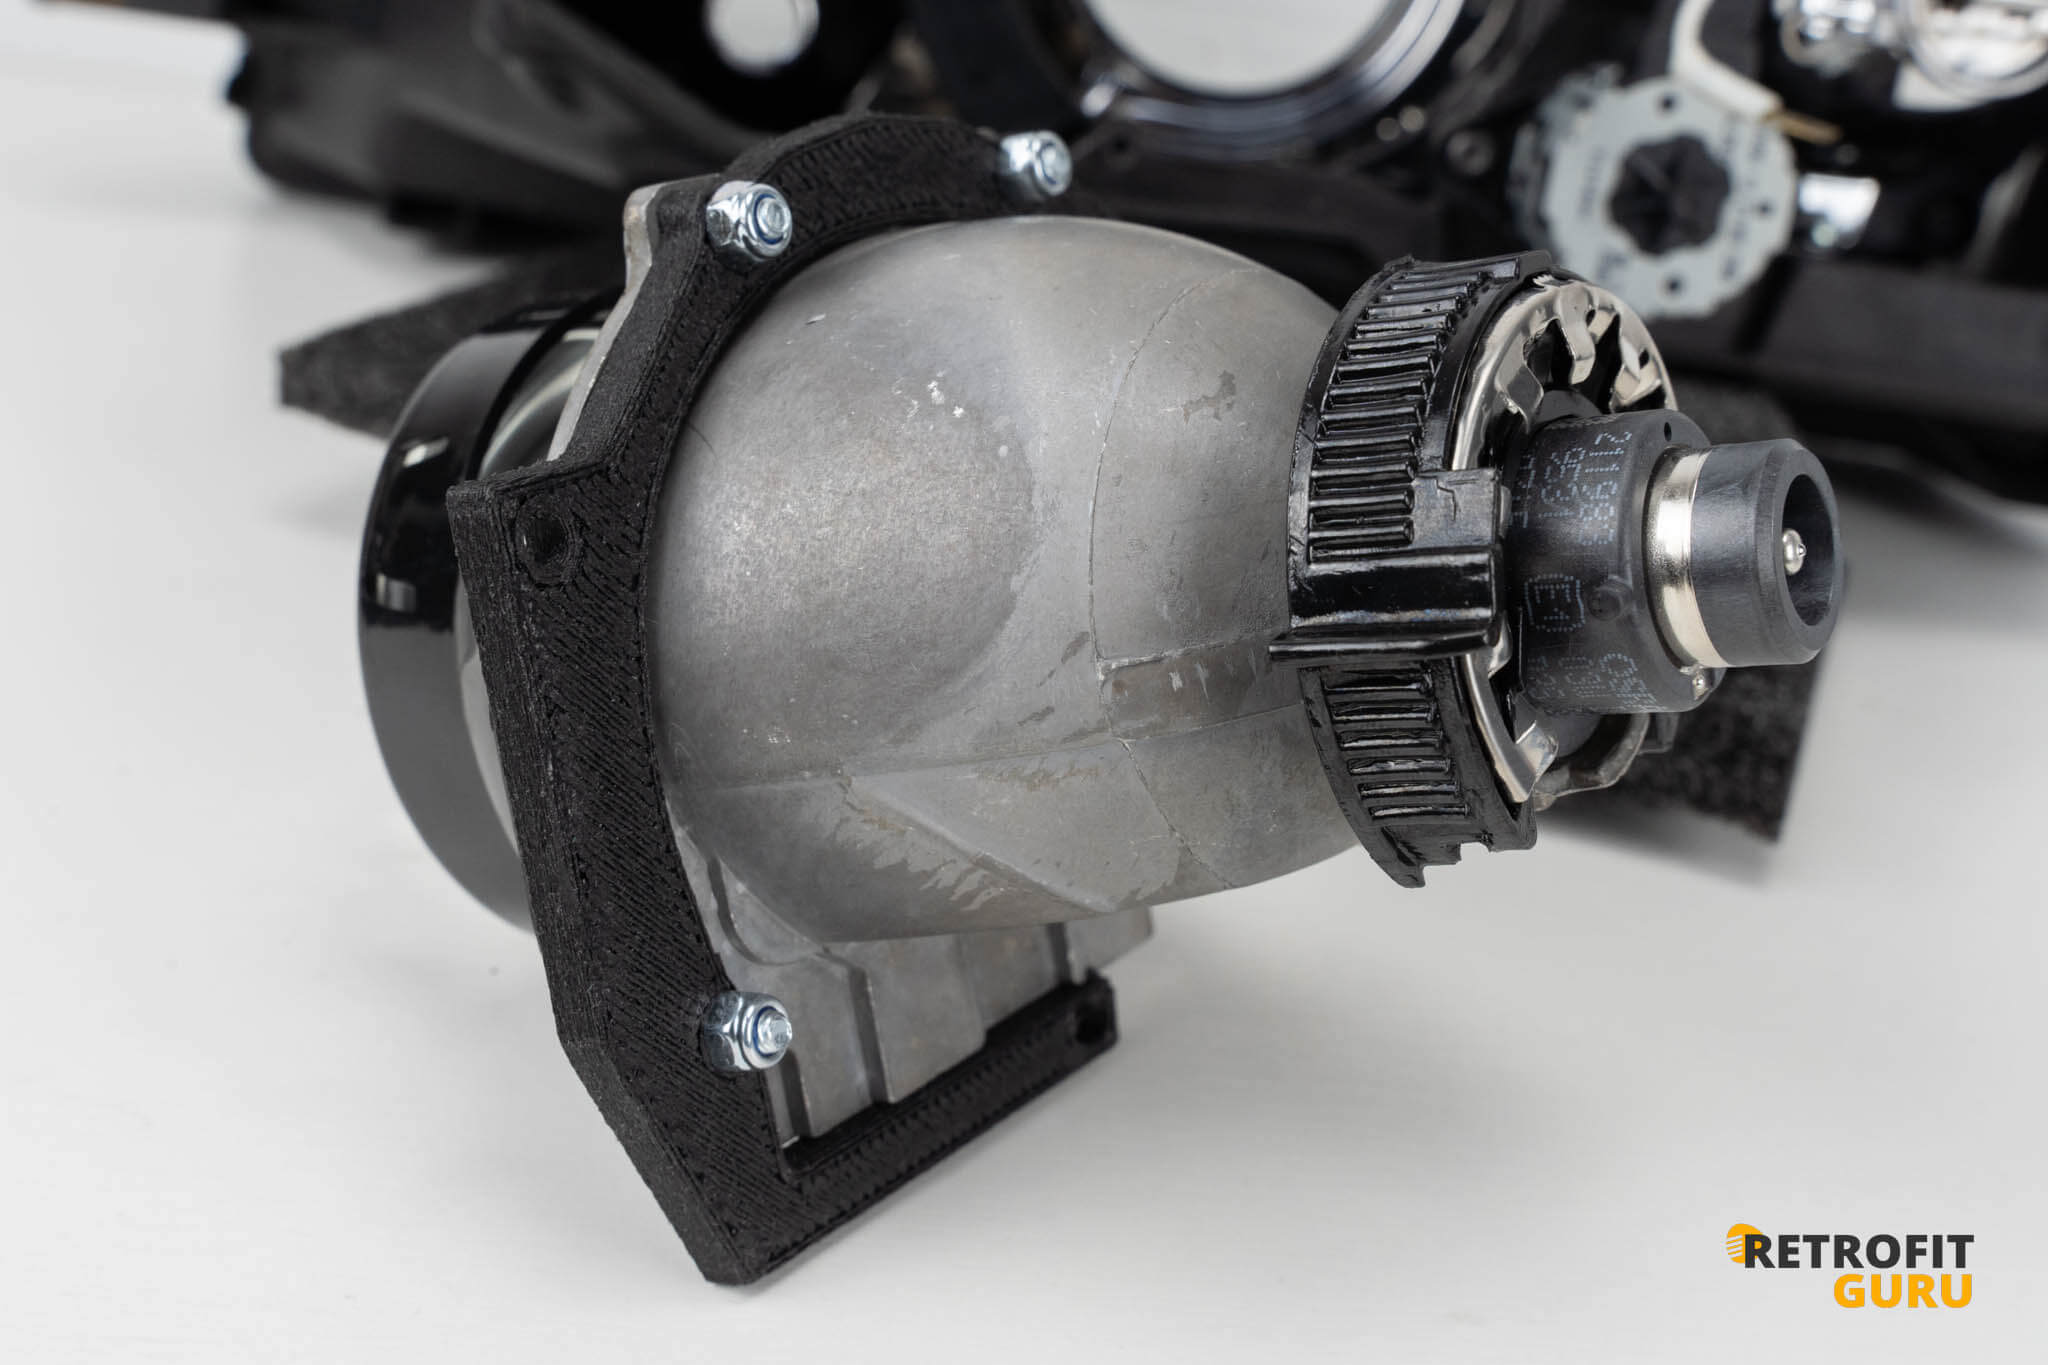
8. Installation of the bracket and bulb
- From the side, insert the bulb into the new holder.
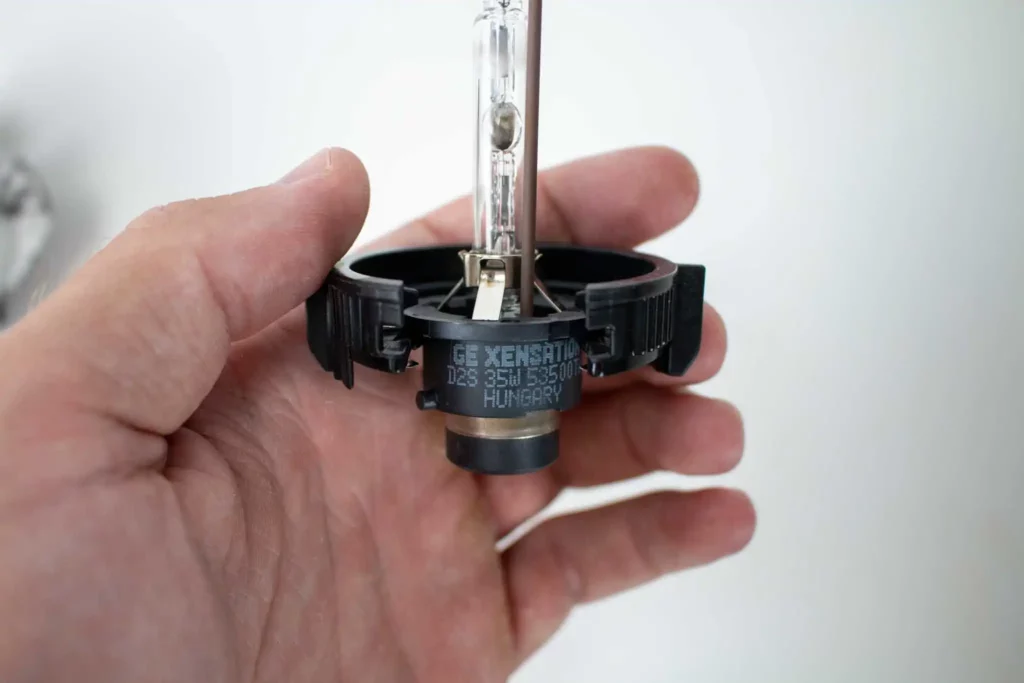
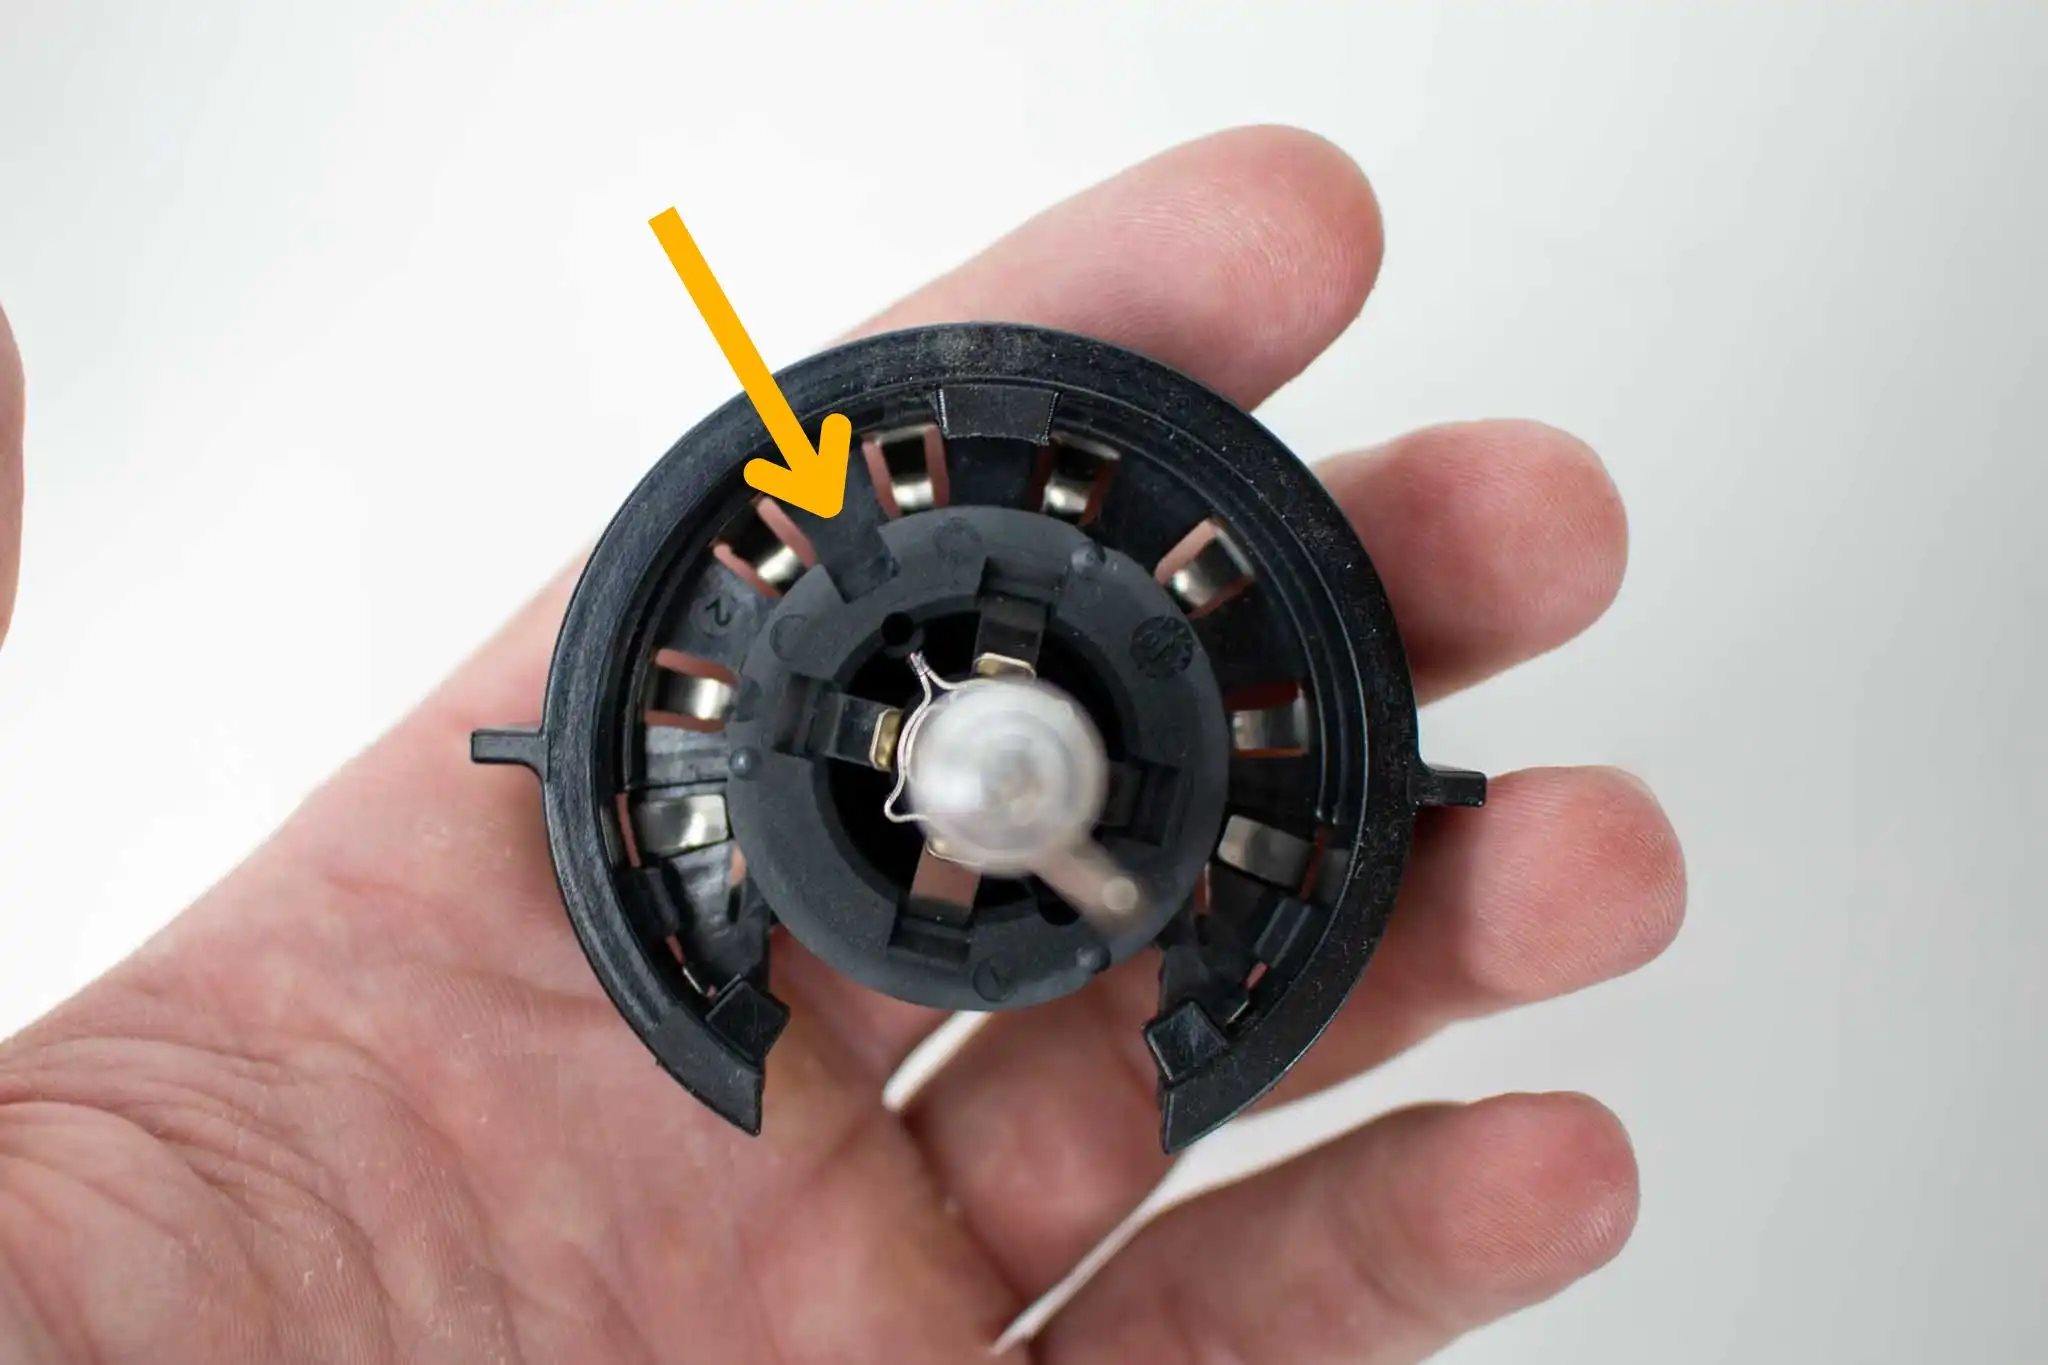
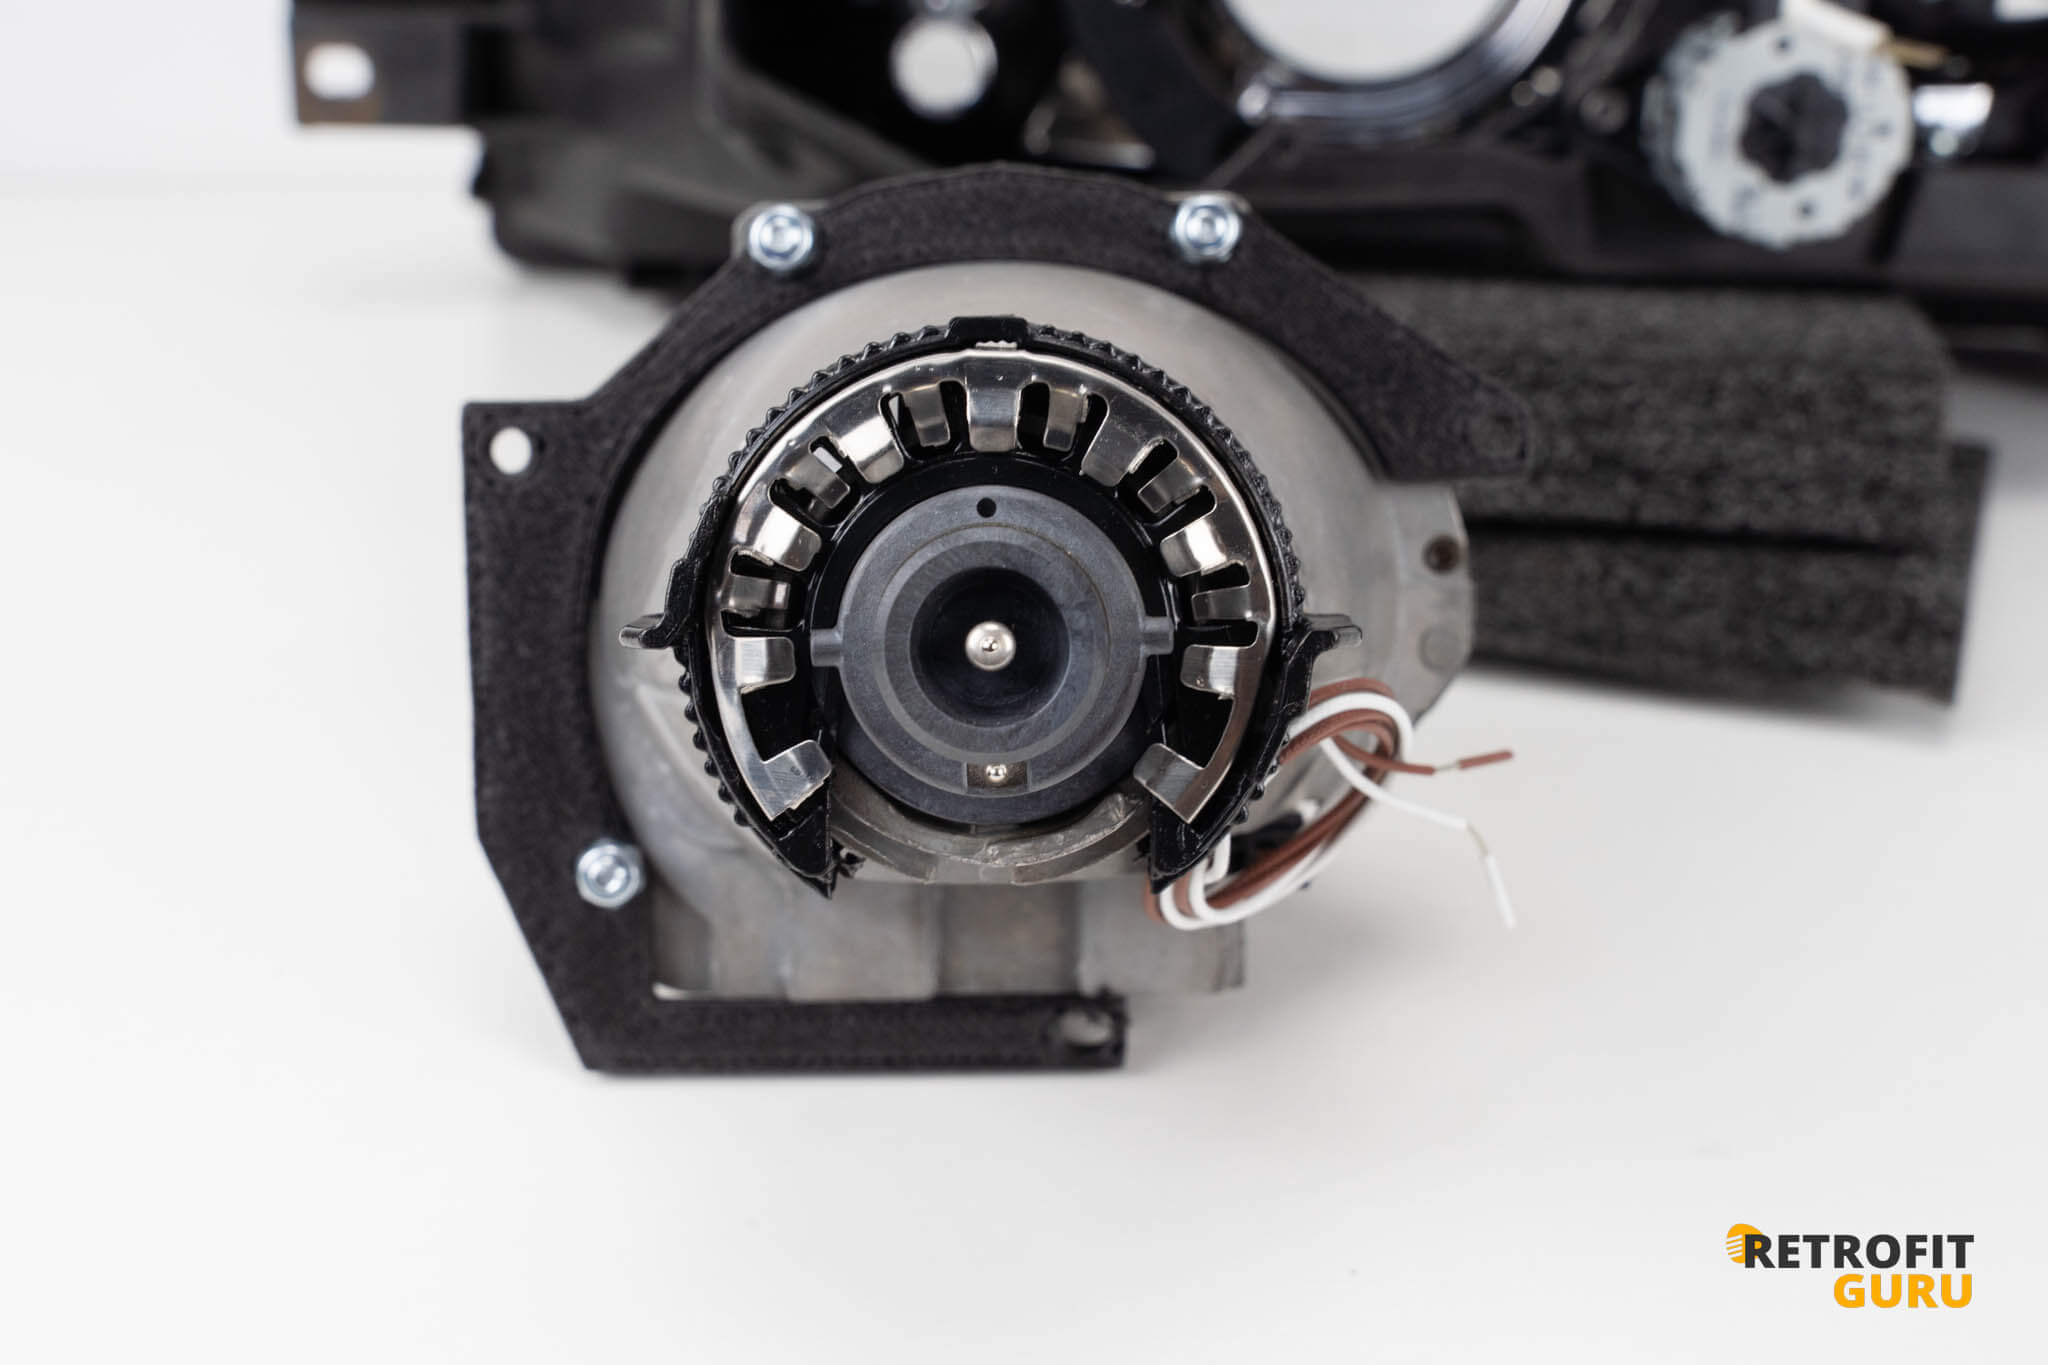
- Ensure that the cutout of the bulb fits into the projector, and secure it by turning. It is recommended to preset the bulb in the holder according to the photo below.


- Attach the bracket and aperture as shown in the photos below.
- Mount the new projector.
- Use new nuts from the package
9. Wiring
- Make sure that the wiring from the package is connected to the projector.
- Shorten the wires so they can be easily connected to the original high beam wiring without being unnecessarily long.
- Connect the wires from the projector to the original high beam wiring:
- Connect one wire to the brown wire and the other to the yellow wire.
- Polarity doesn't matter, so you can connect the projector wires in either order.
- Reconnect the remaining wiring and mount the xenon starter.
- Reattach the rear xenon cover.
Done!
Now all that's left is to reinstall the headlights on the car and have them properly aligned — this is done using the original adjustment points on the headlight units.
The result is significantly improved visibility while driving, without dazzling other drivers.
If you want to do the retrofit yourself, you can find the complete Plug & Play kit here: Bi-xenon kit for Skoda Octavia I - RetrofitGuru.com
No need to worry about the installation — each kit comes with a detailed video guide and technical support. If you're unsure about anything, we're happy to help!

